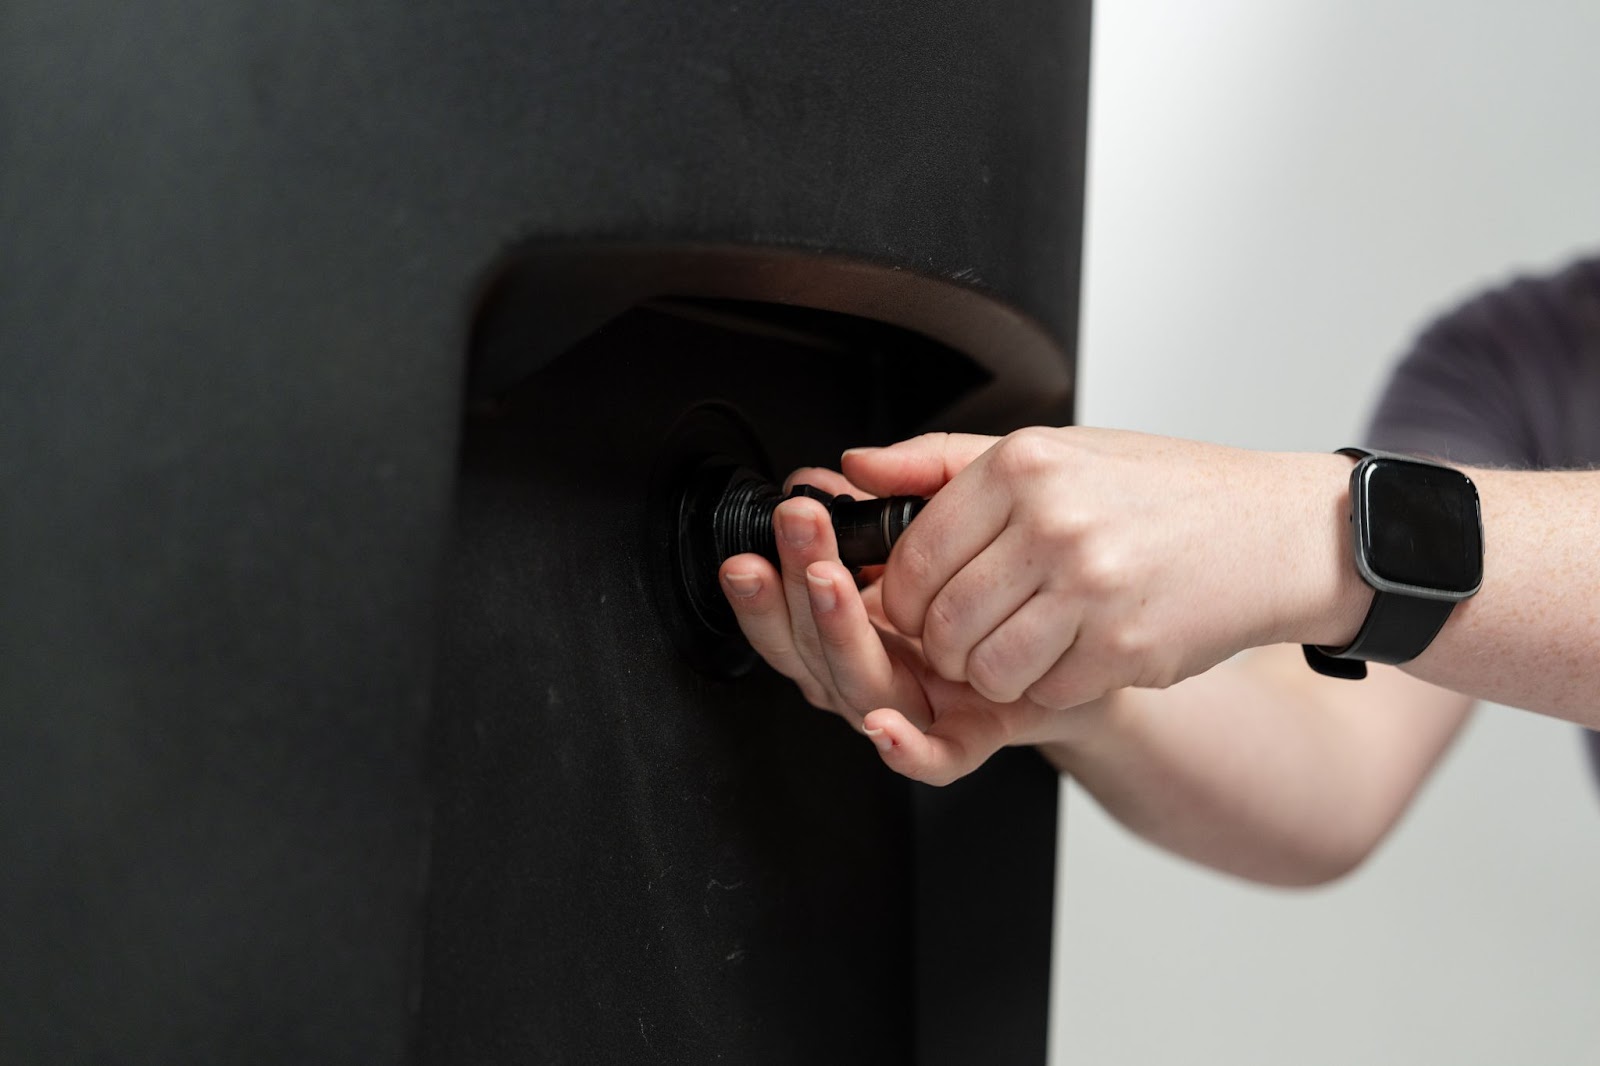
Step 1: Remove drain valves and plugs
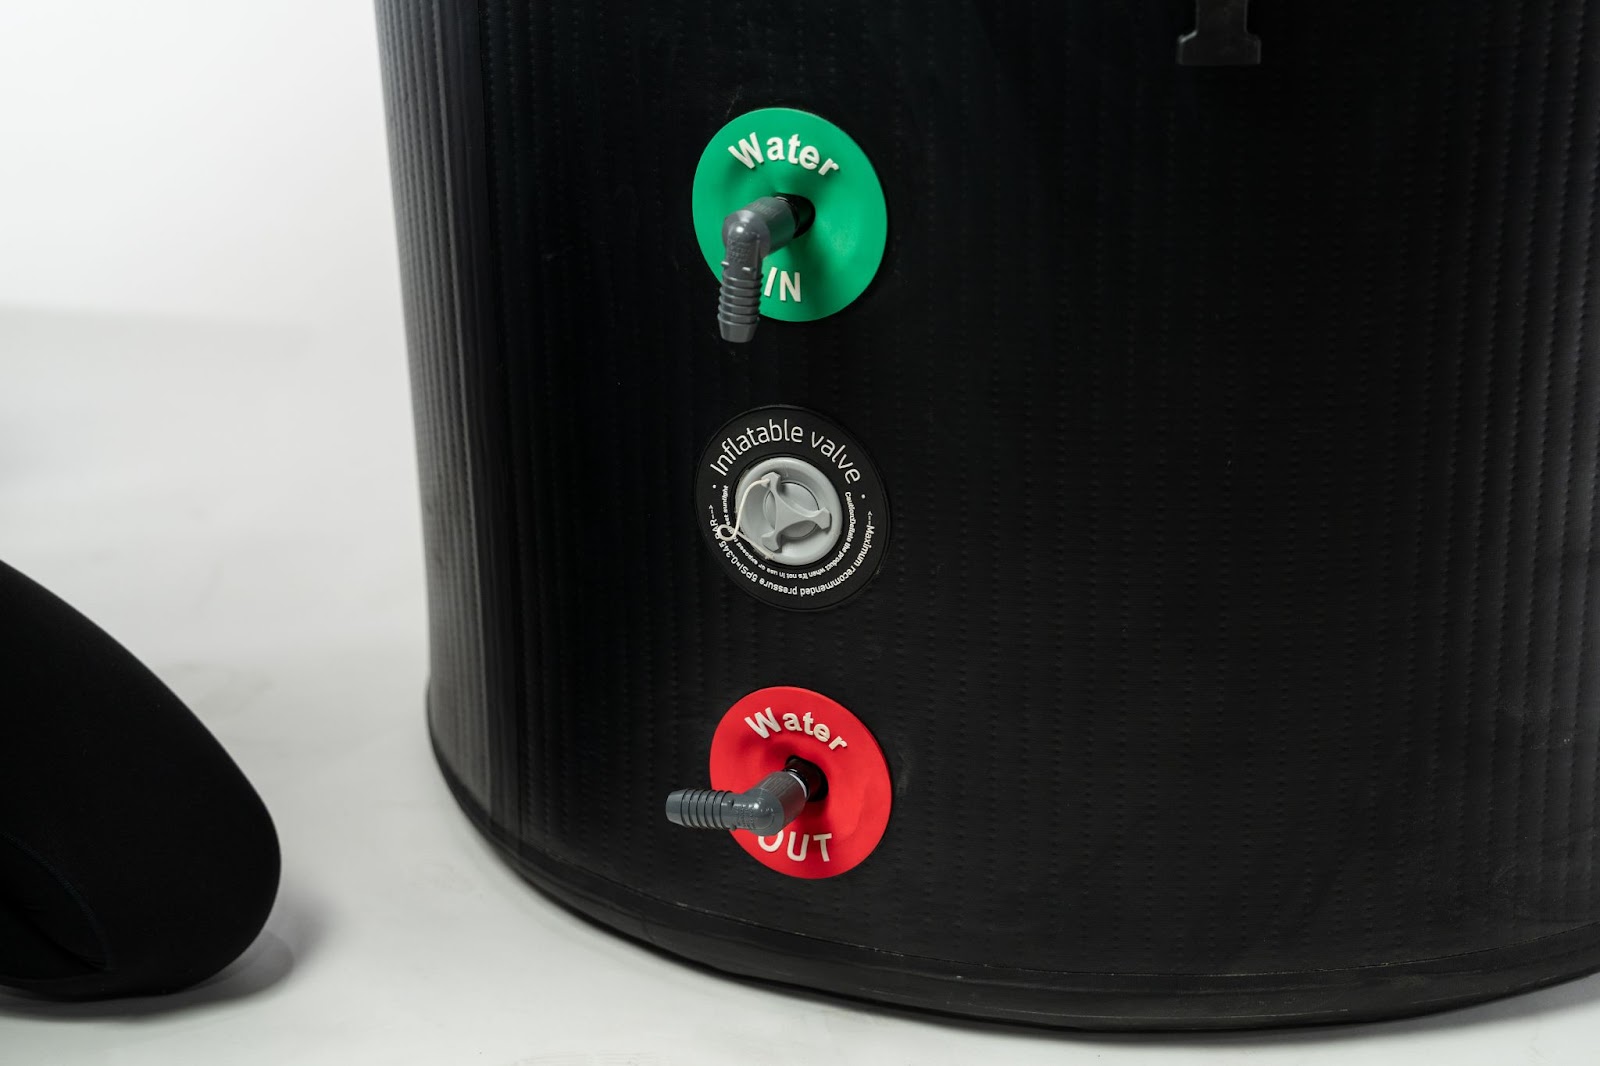
- Please prep the tub you are connecting the chiller to by removing all drain valves and/or plugs from inlet and outlet ports.
|
 |
Step 2: Location Requirements
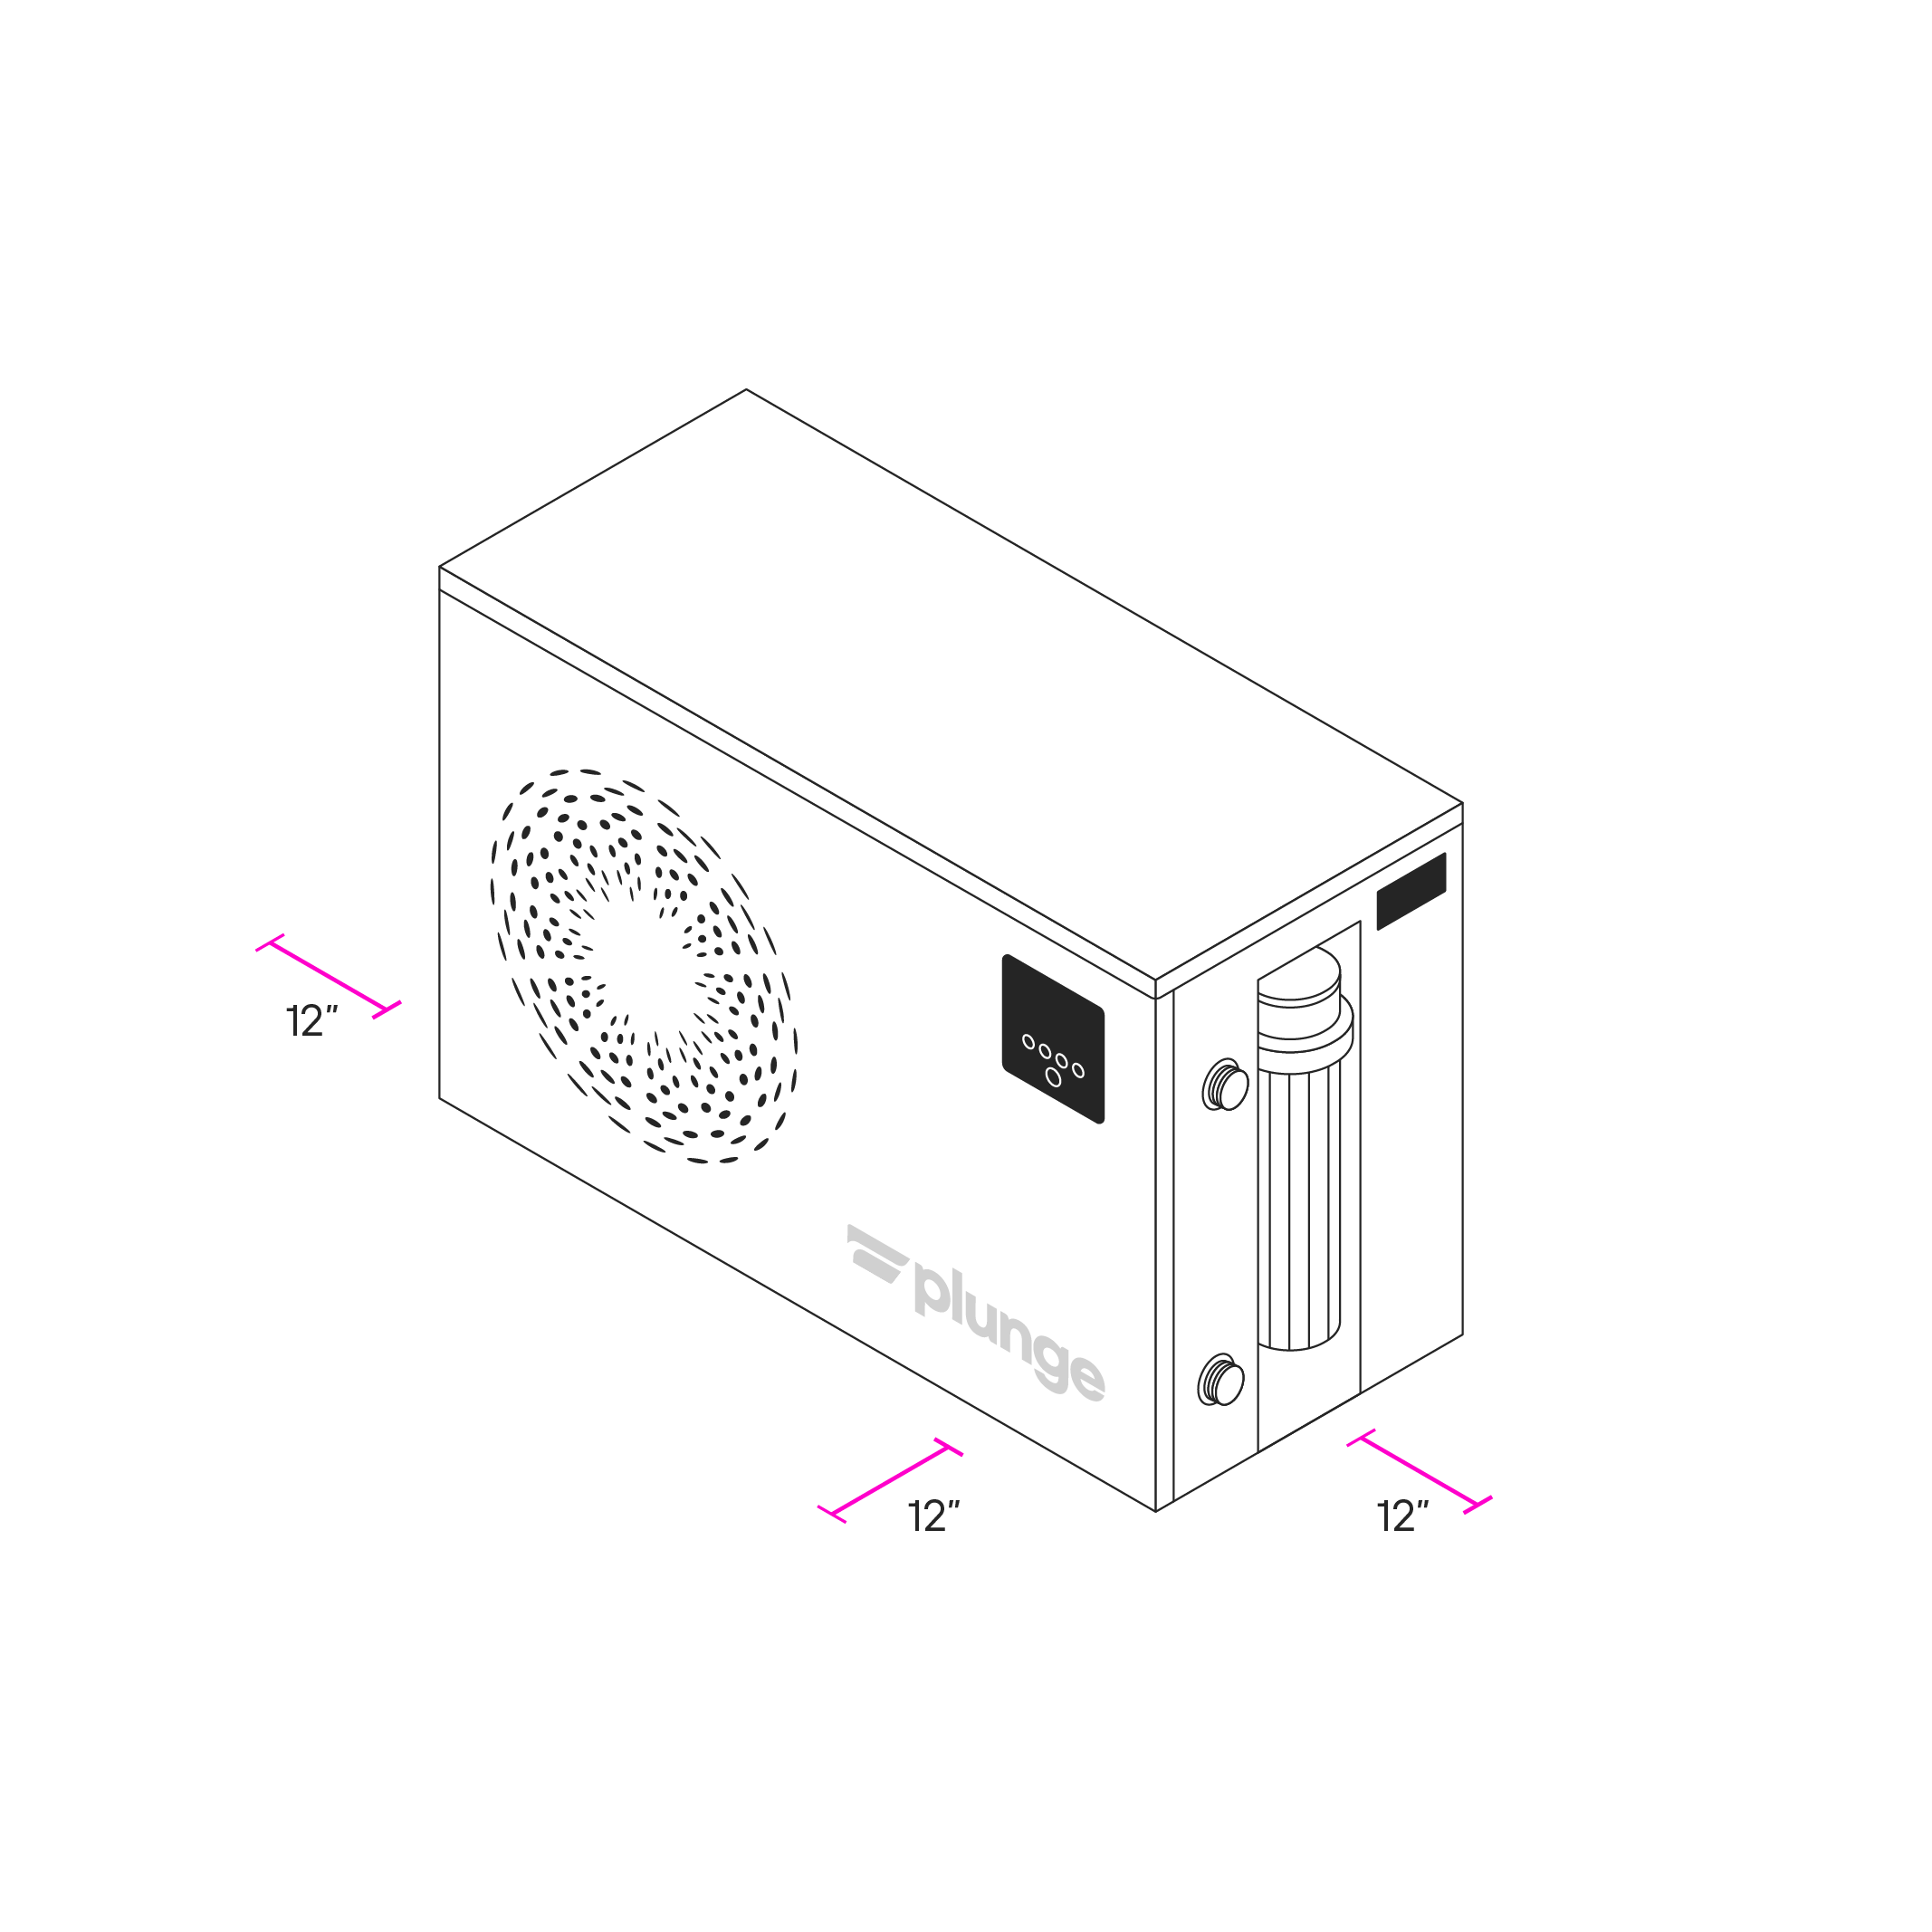
- The Evolve Standard Chiller requires 12 inches of ventilation on the front (where the UI is located) and on both the left and right side of the unit.
- Not allowing for at least 12 inches on each side shown in the image could result in damage to the chiller and voiding your warranty.
|
 |
Step 3: Connect Chiller Connections
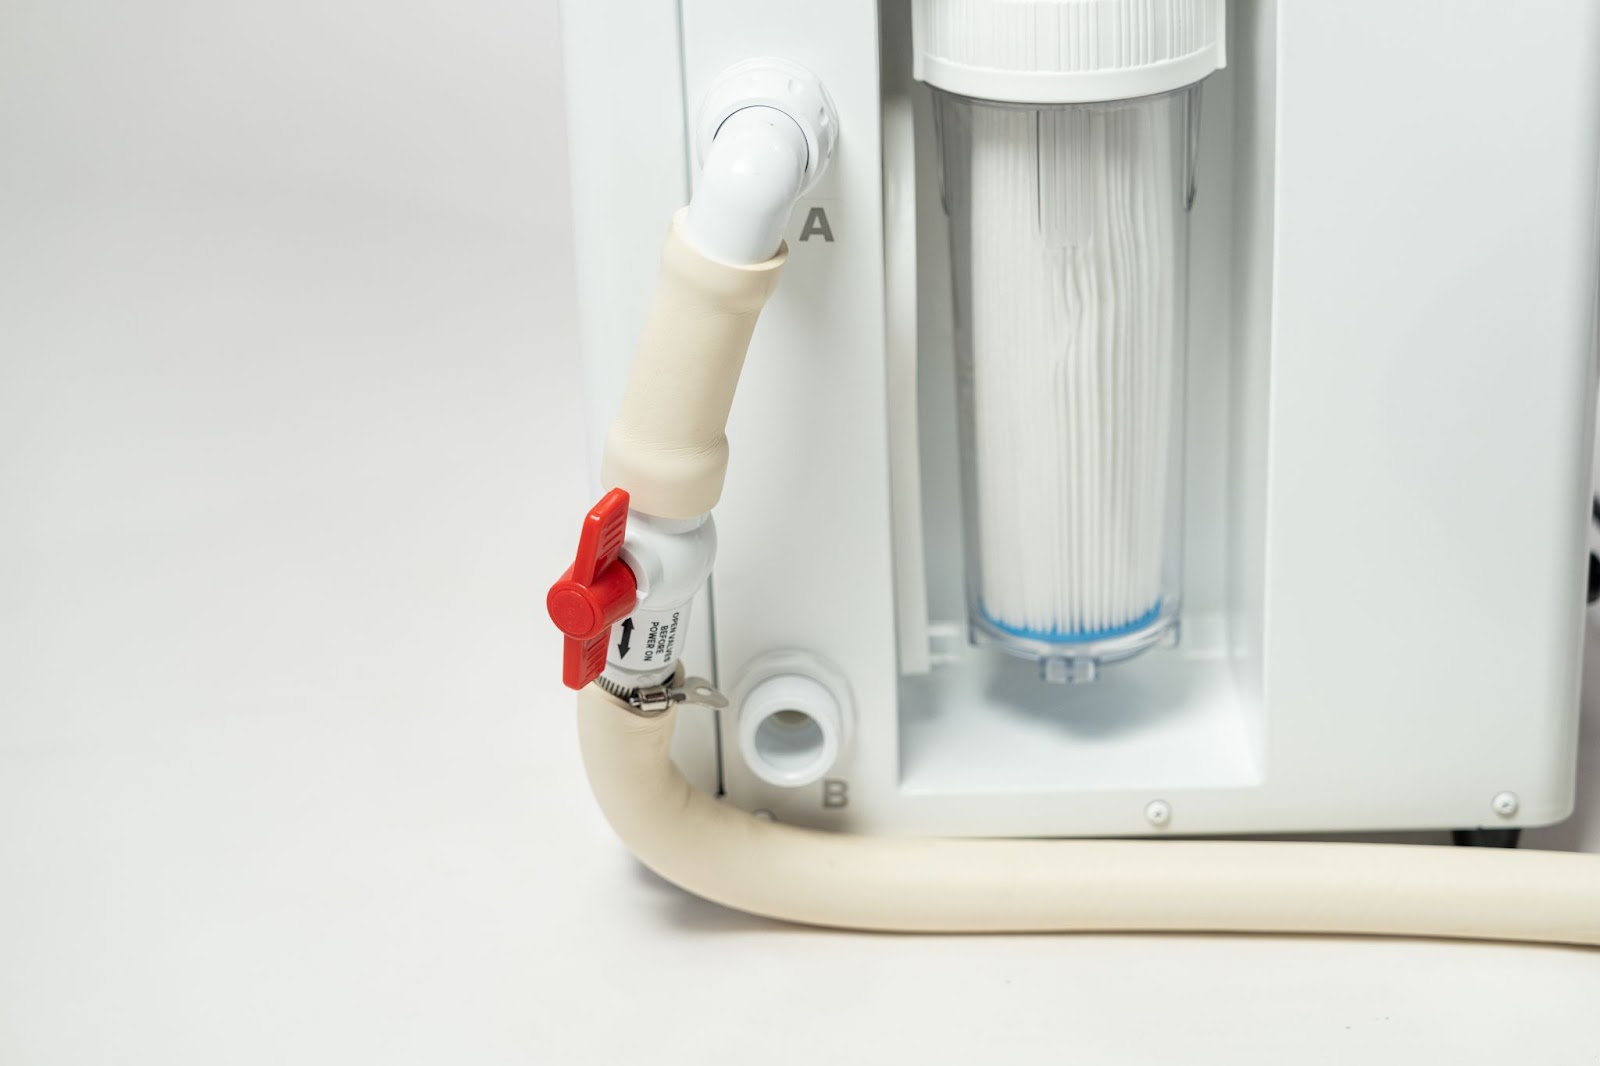
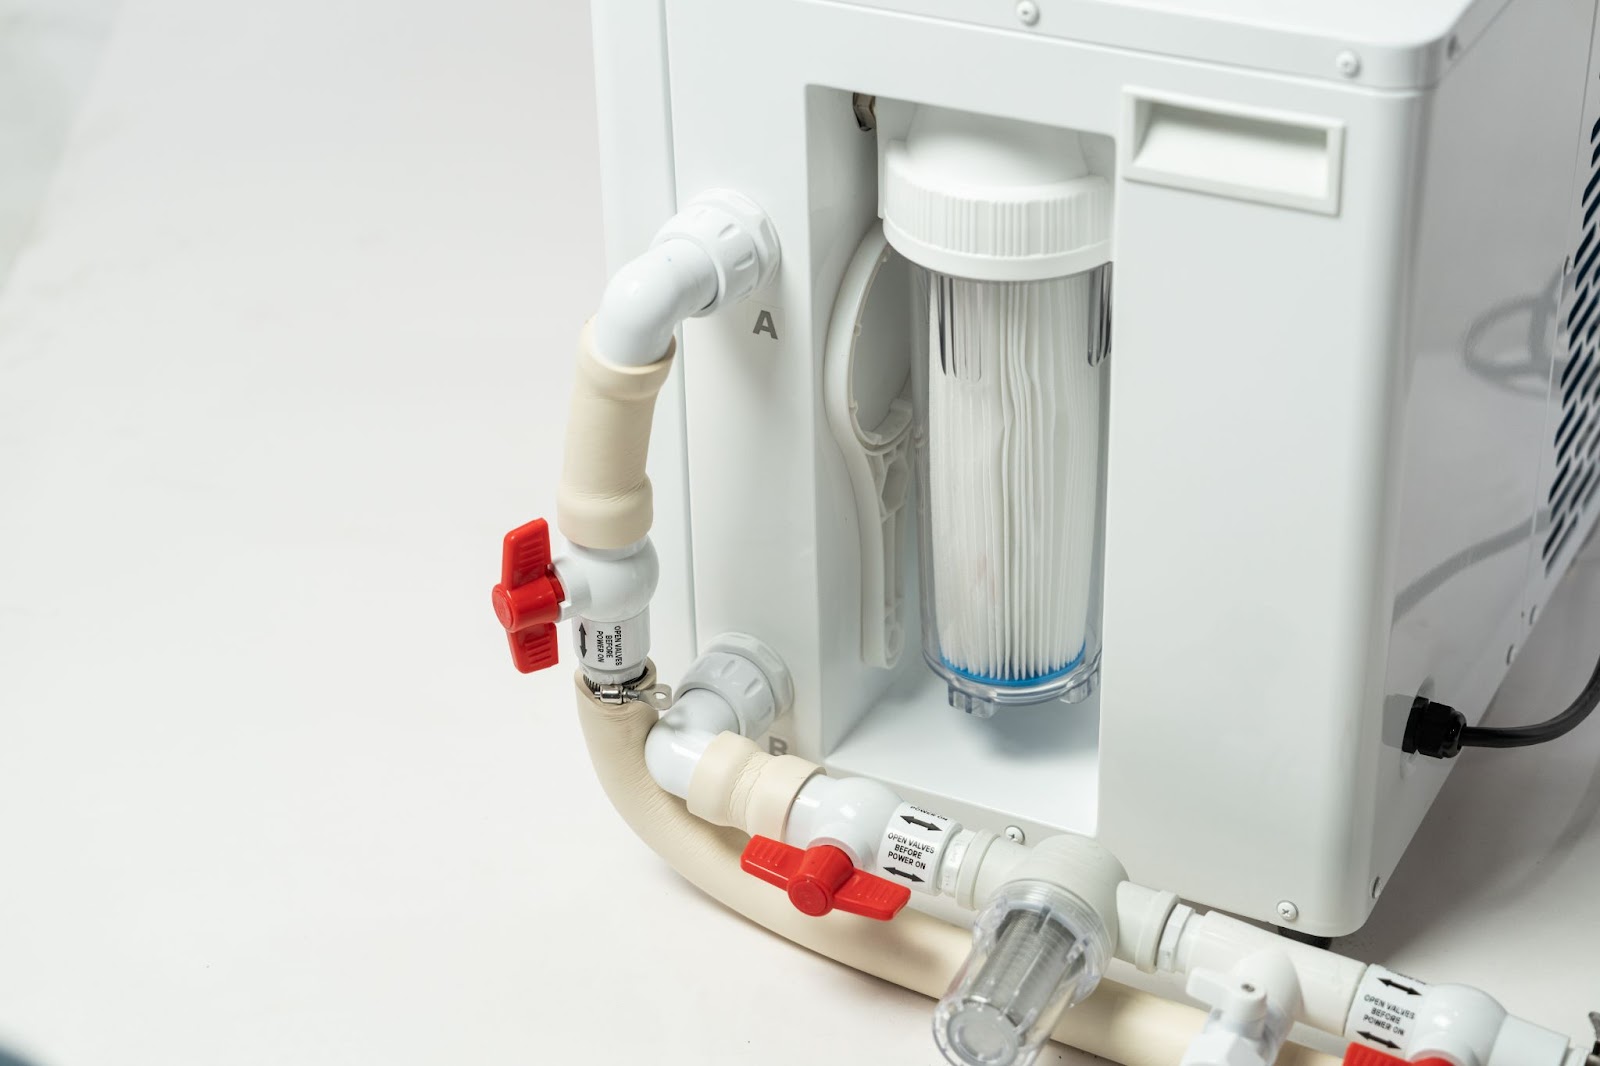
- Attach Connection A to the chiller and bring it down into an “L” shape in order to not restrict filter access.The connections are flexible and designed to bend this way, but please be careful not to kink the hose which will restrict flow.
-
Attach Connection B and allow Connection A to run around the port and underneath the piping to keep the “L” shape.
|
|
Step 4: Determine if your tub requires a ½” or ¾” male or female connection
- We’ve provided a variety of adapters to work on different types of tubs.
- Please follow the table to determine which adapter to use:
|
| Tub Port Description |
Type of Adapter Needed |
| My tub has ¾” male ports (threading on the outside) |
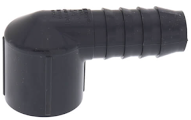 |
| My tub has ¾” female ports (threading on the inside) |
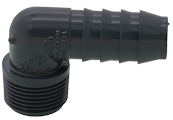 |
| My tub has ½” male ports (threading on the outside) |
 |
| My tub has ½” female ports (threading on the inside) |

AND
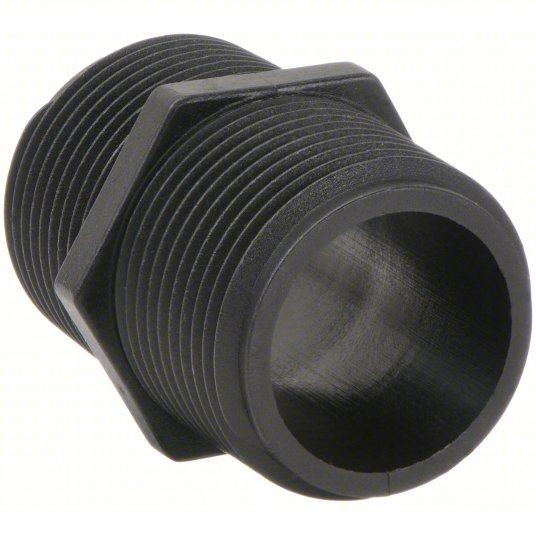
**You’ll attach the conversion adapter to the ½” female barbed elbow to allow it to be used for this type of port.**
|
|
Step 5: Prepare Threaded Connectors
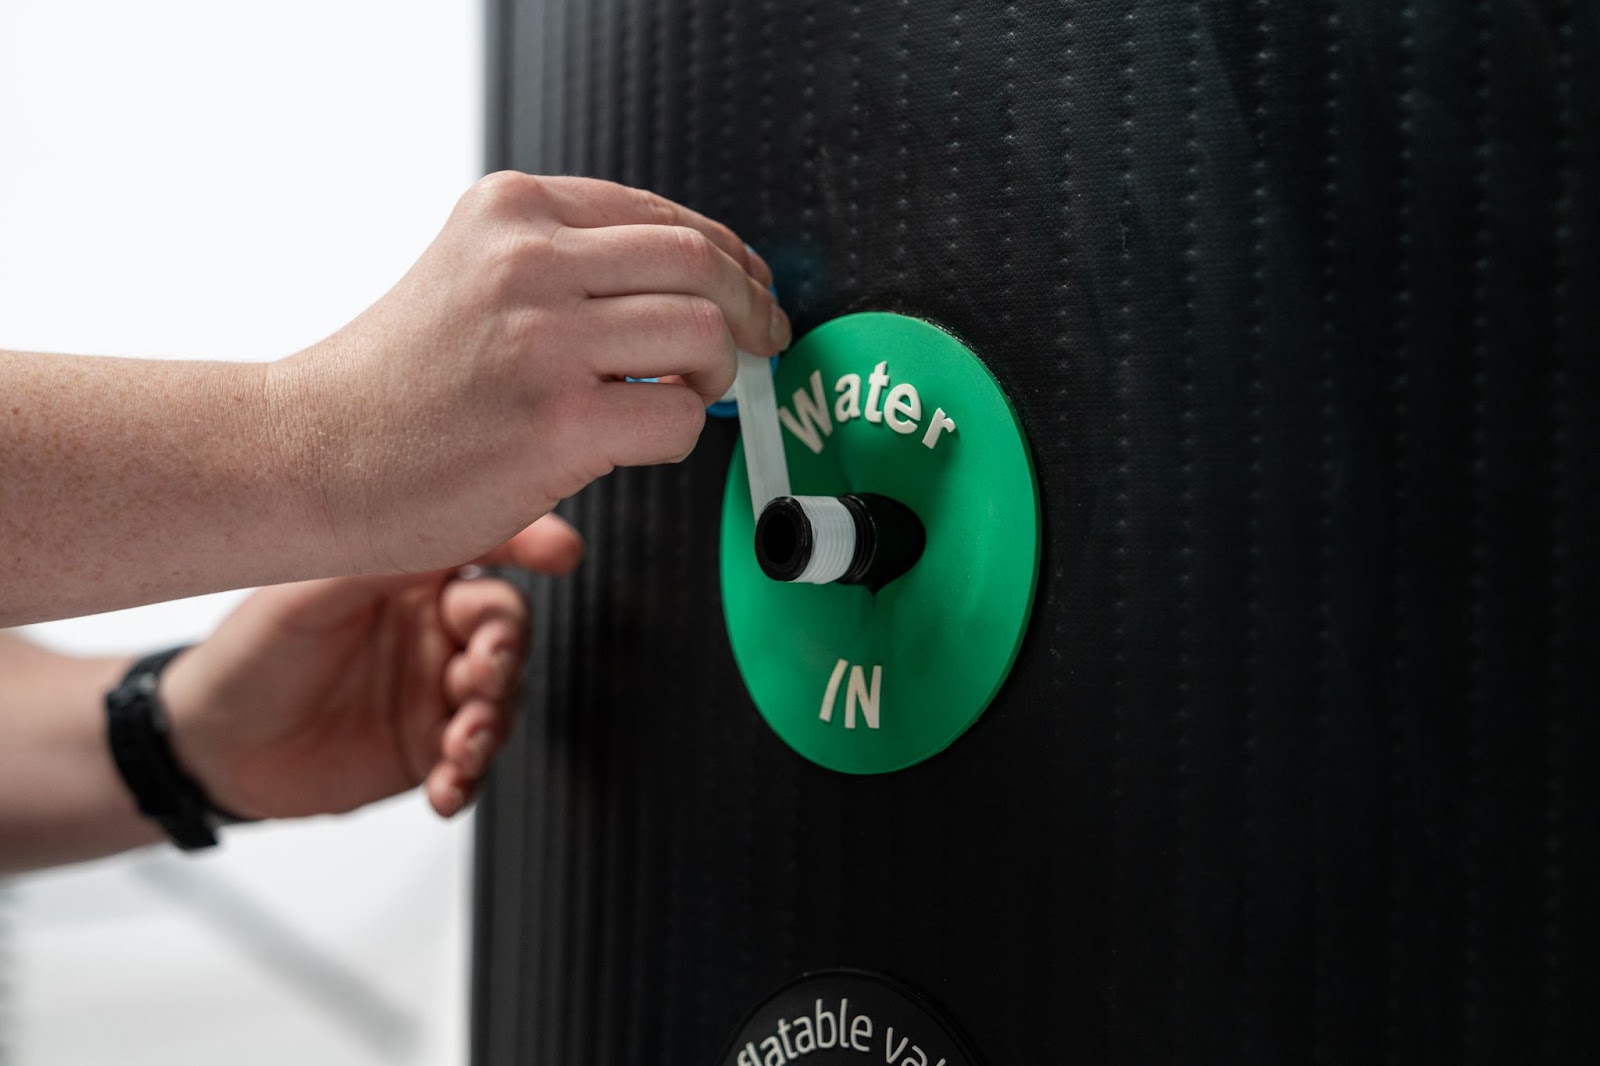
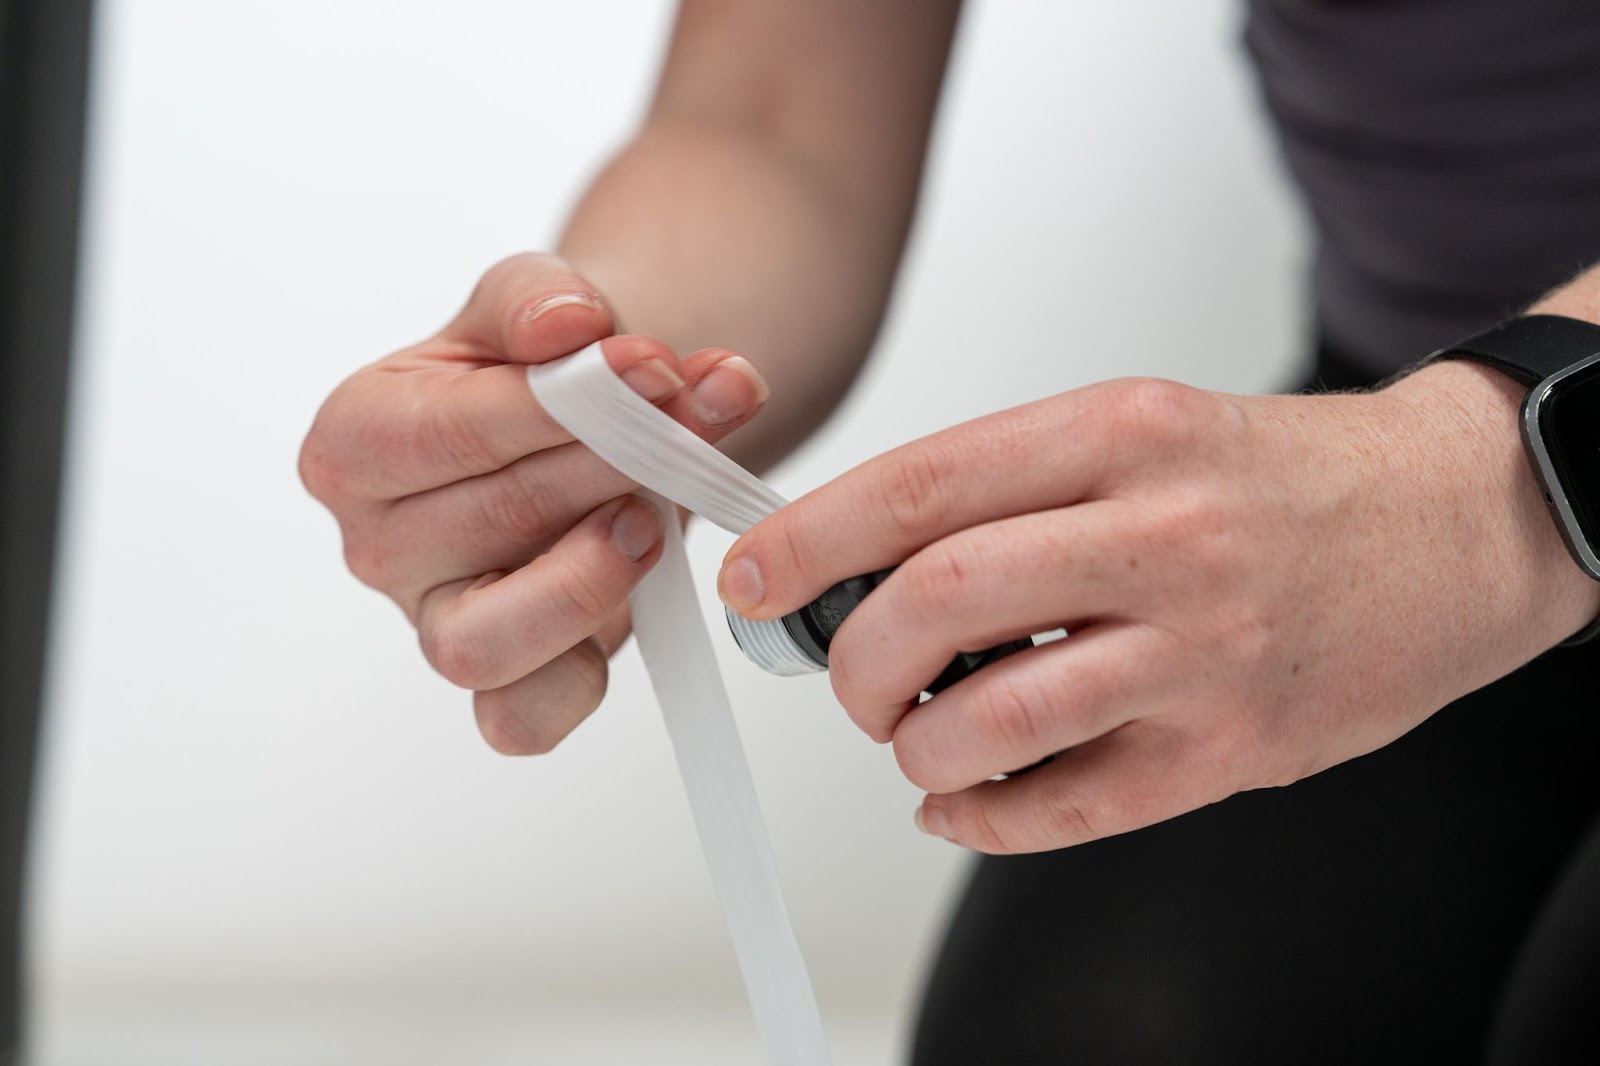
- Apply Teflon tape to the male side of the threaded connectors to ensure a secure and leak-proof fit.
- Wrap the teflon tape around securely 3 times clockwise.
-
Please note: The male side could be either the ports on the tub, or the adapters provided in the kit.
|
Male Tub Port Teflon Tape Application
OR
Male Adapter Teflon Tape Application
|
Step 6: Install Adapters on the Tub
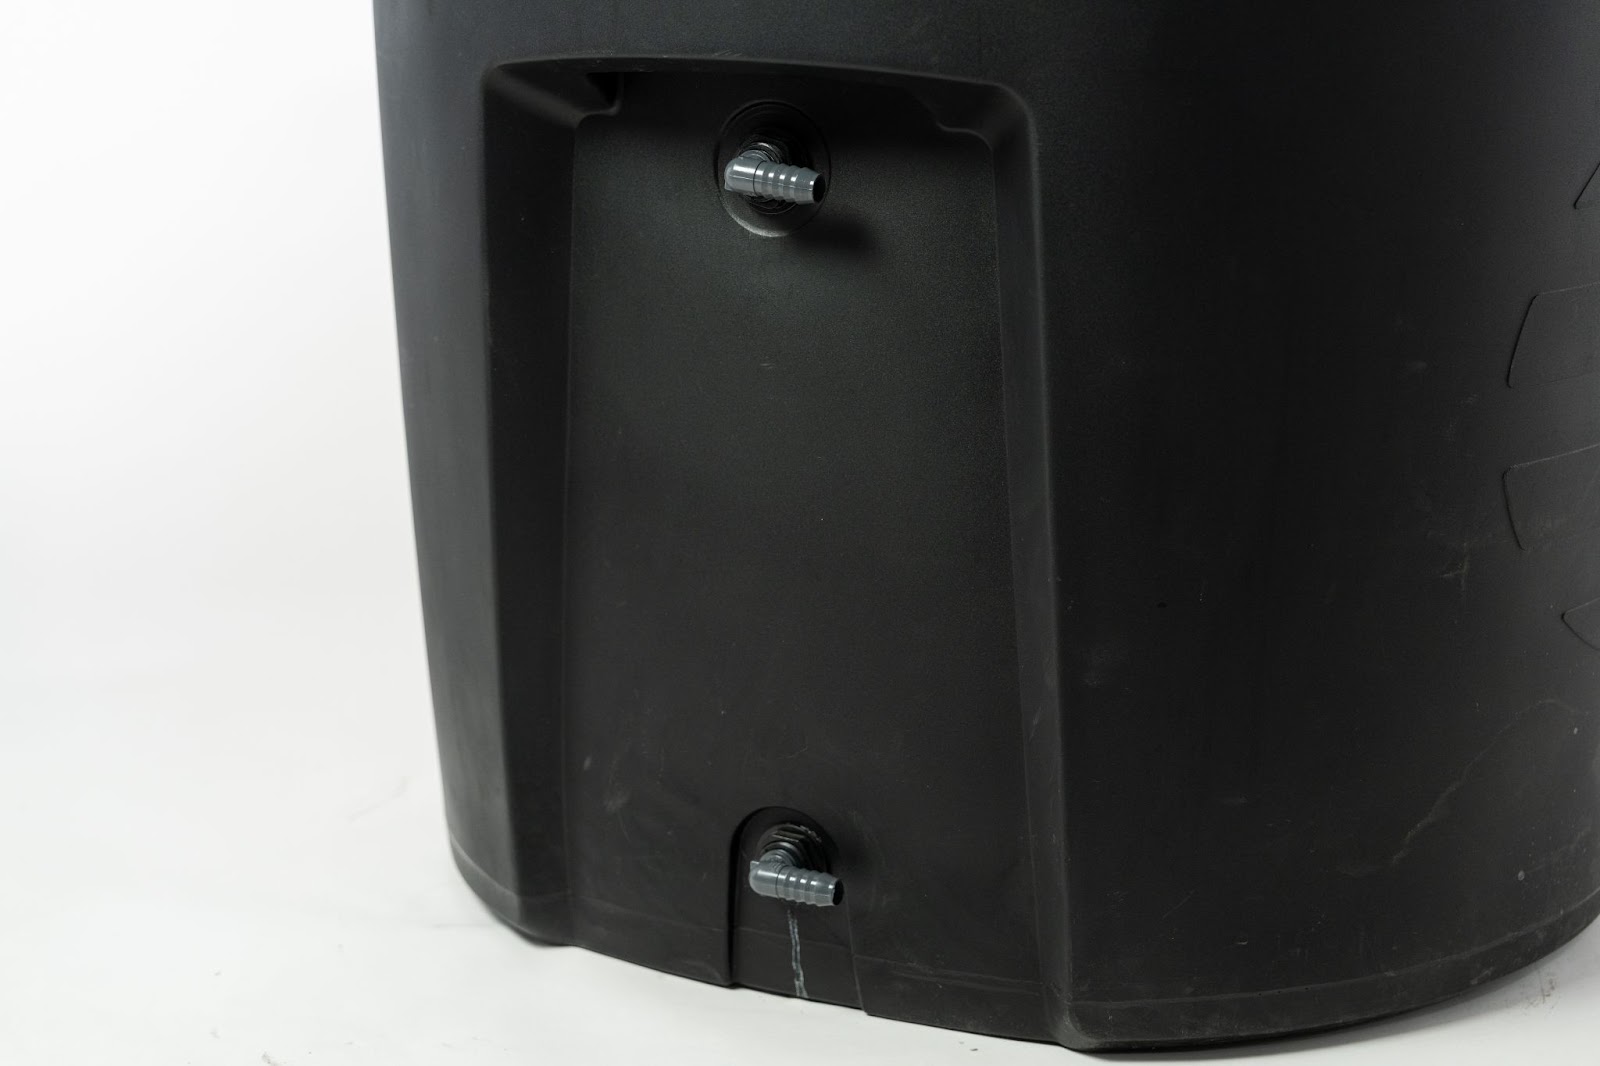
- Install the barbed adapters to the inlet and outlet on your tub.
|
|
Step 7: Install Hose
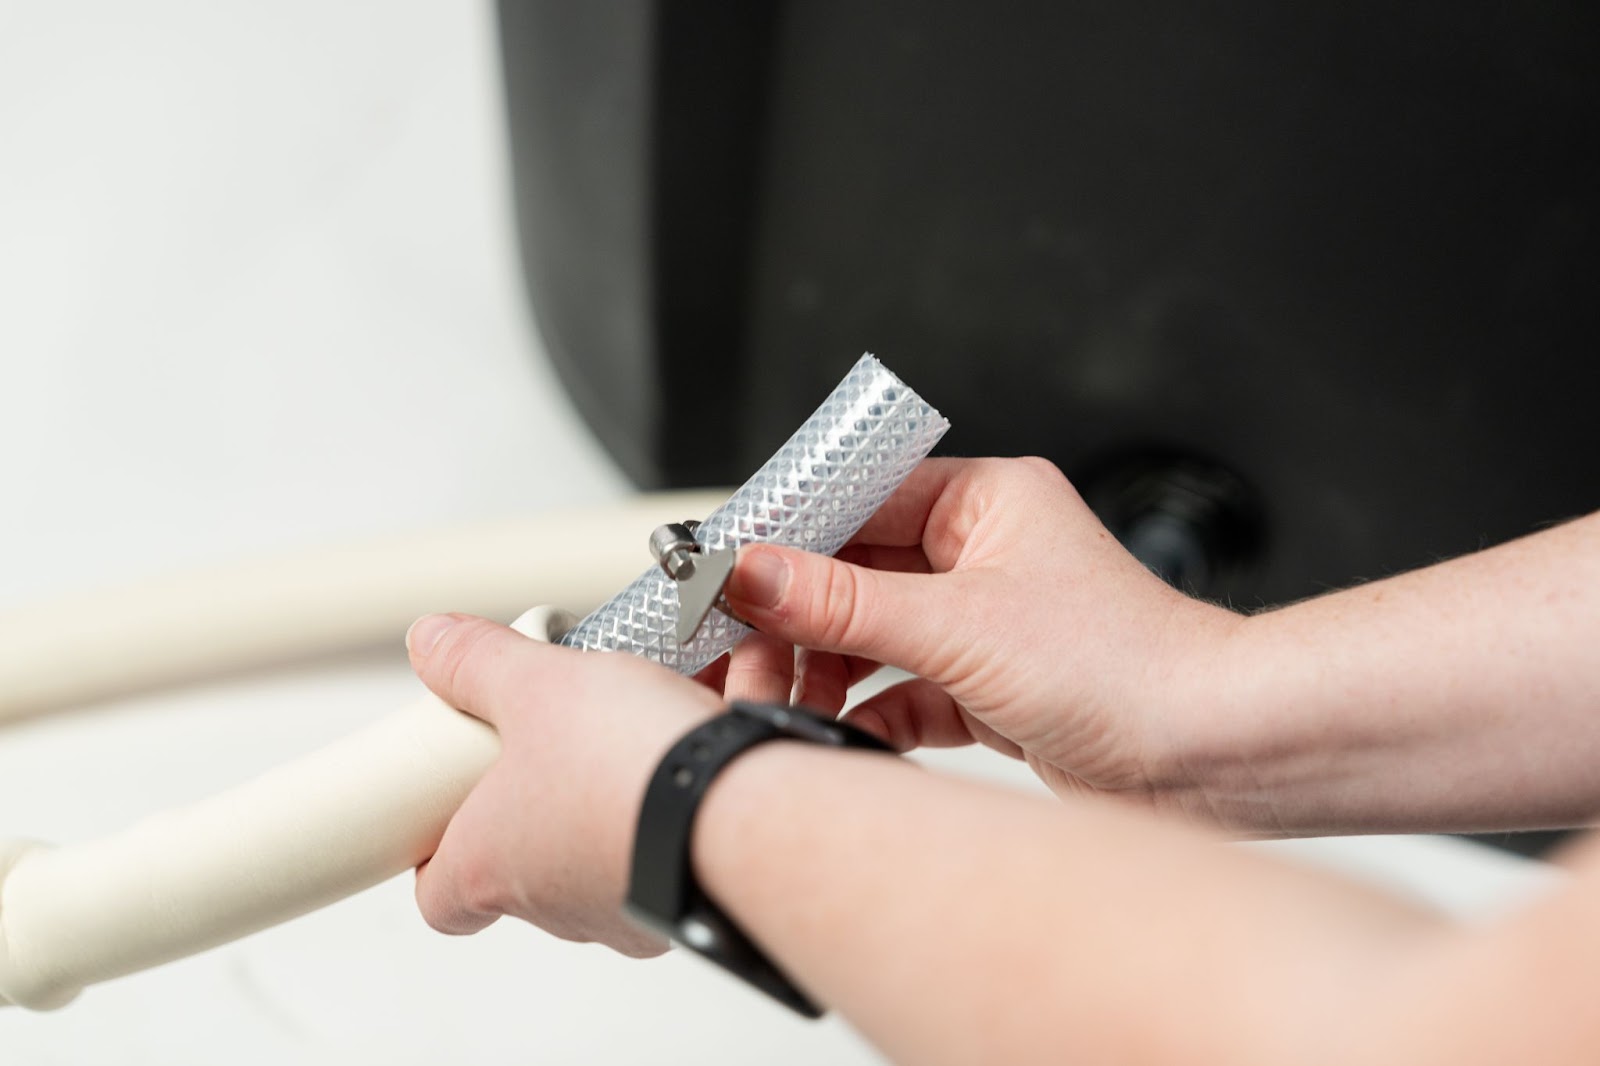
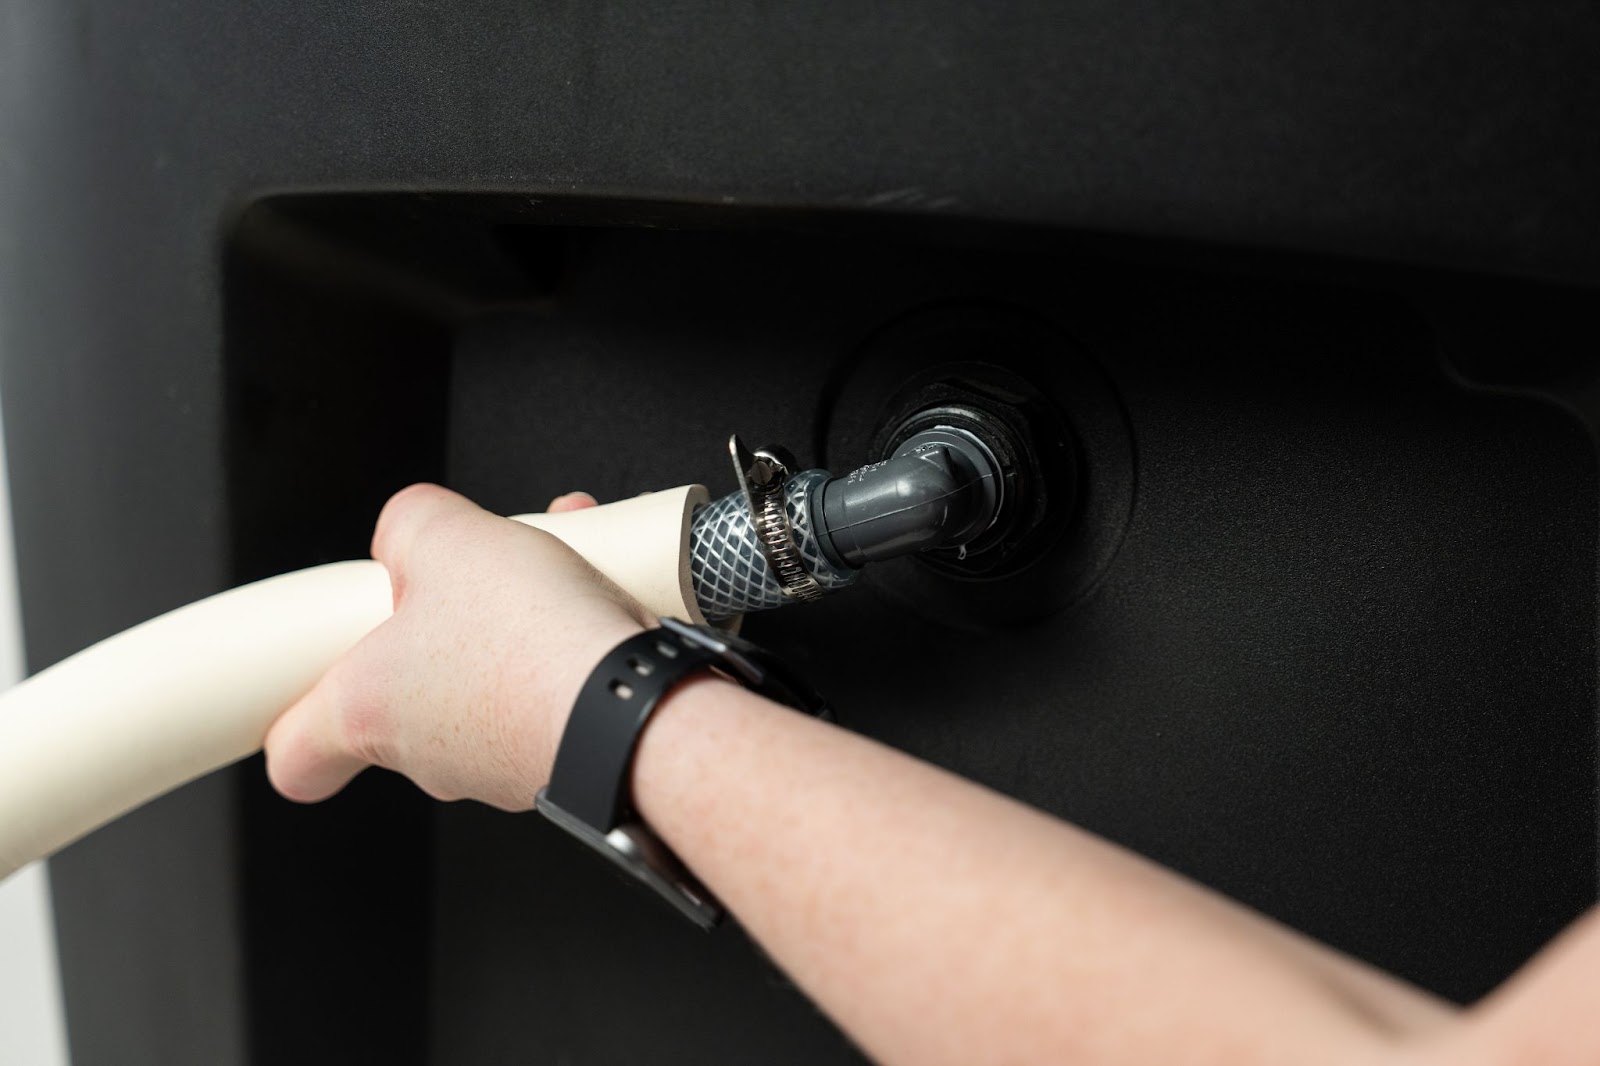
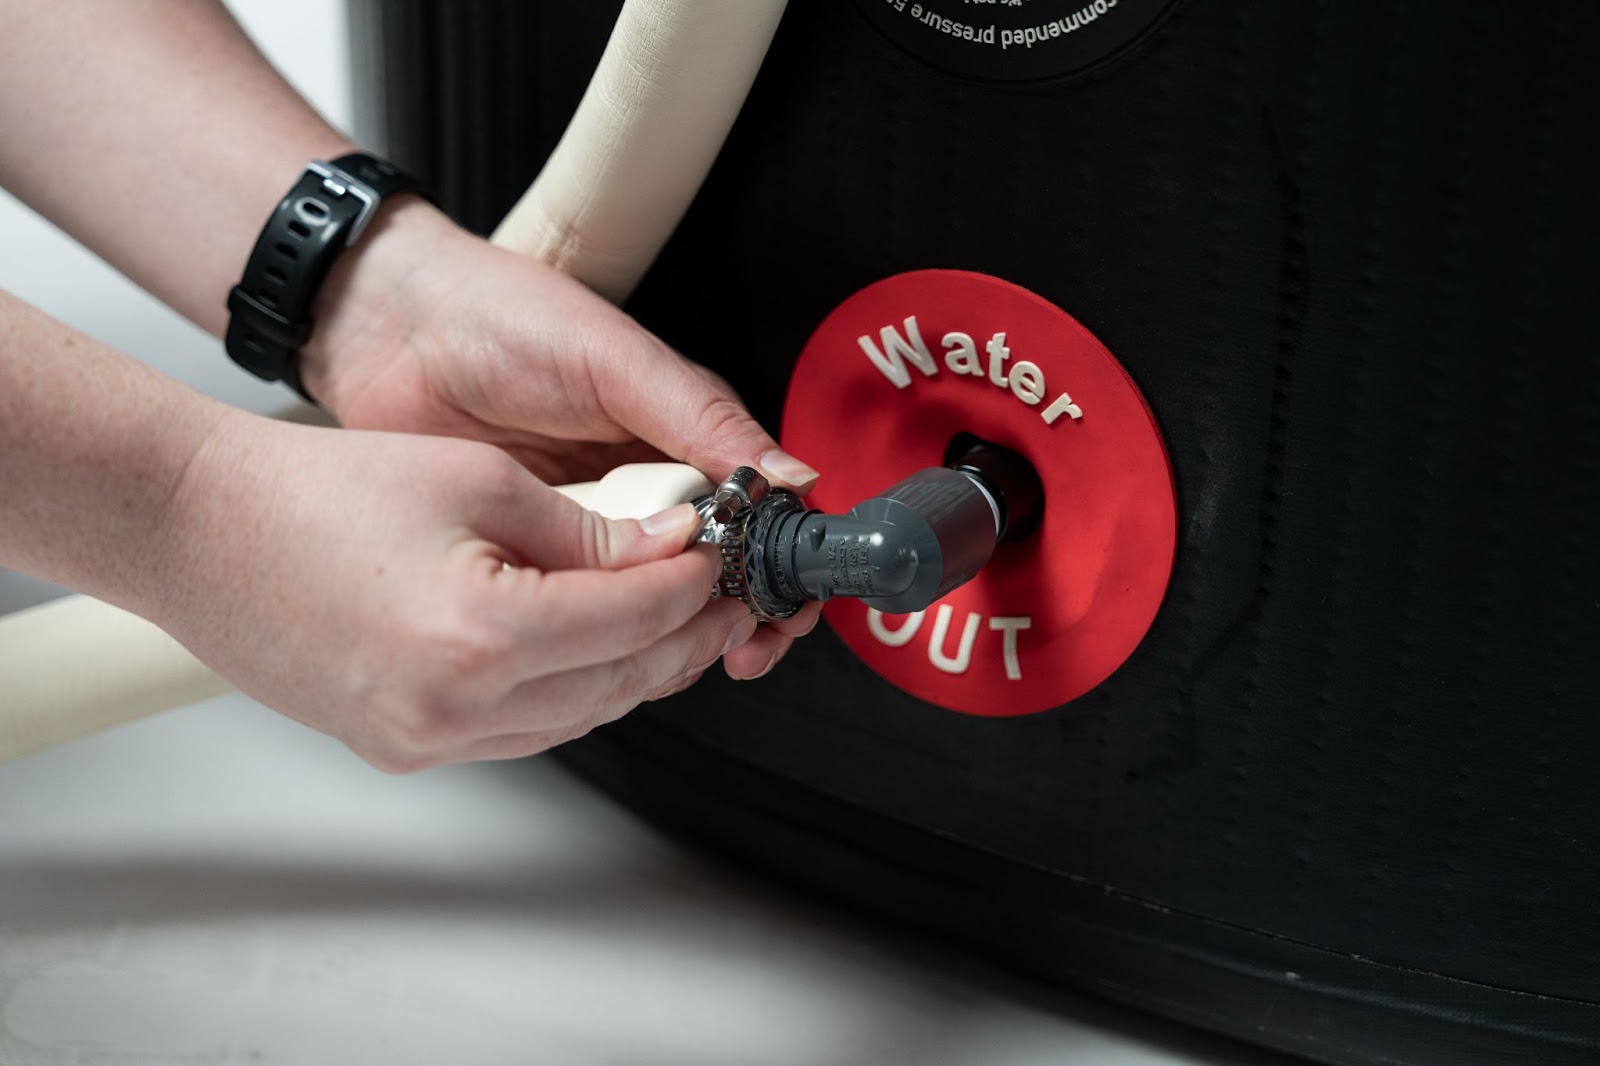
- Place a hose clamp over the hose before connecting it to the barbed elbow.
- Use a drop of dish soap diluted in water on the barbed adapter and inside the hose to make installation easy.
- Additionally the ends of the hose can be briefly dipped into hot water to soften the plastic if needed.
- Install the hose over all the barbs, or until it bottoms out, and then tighten the hose clamps.
|
|
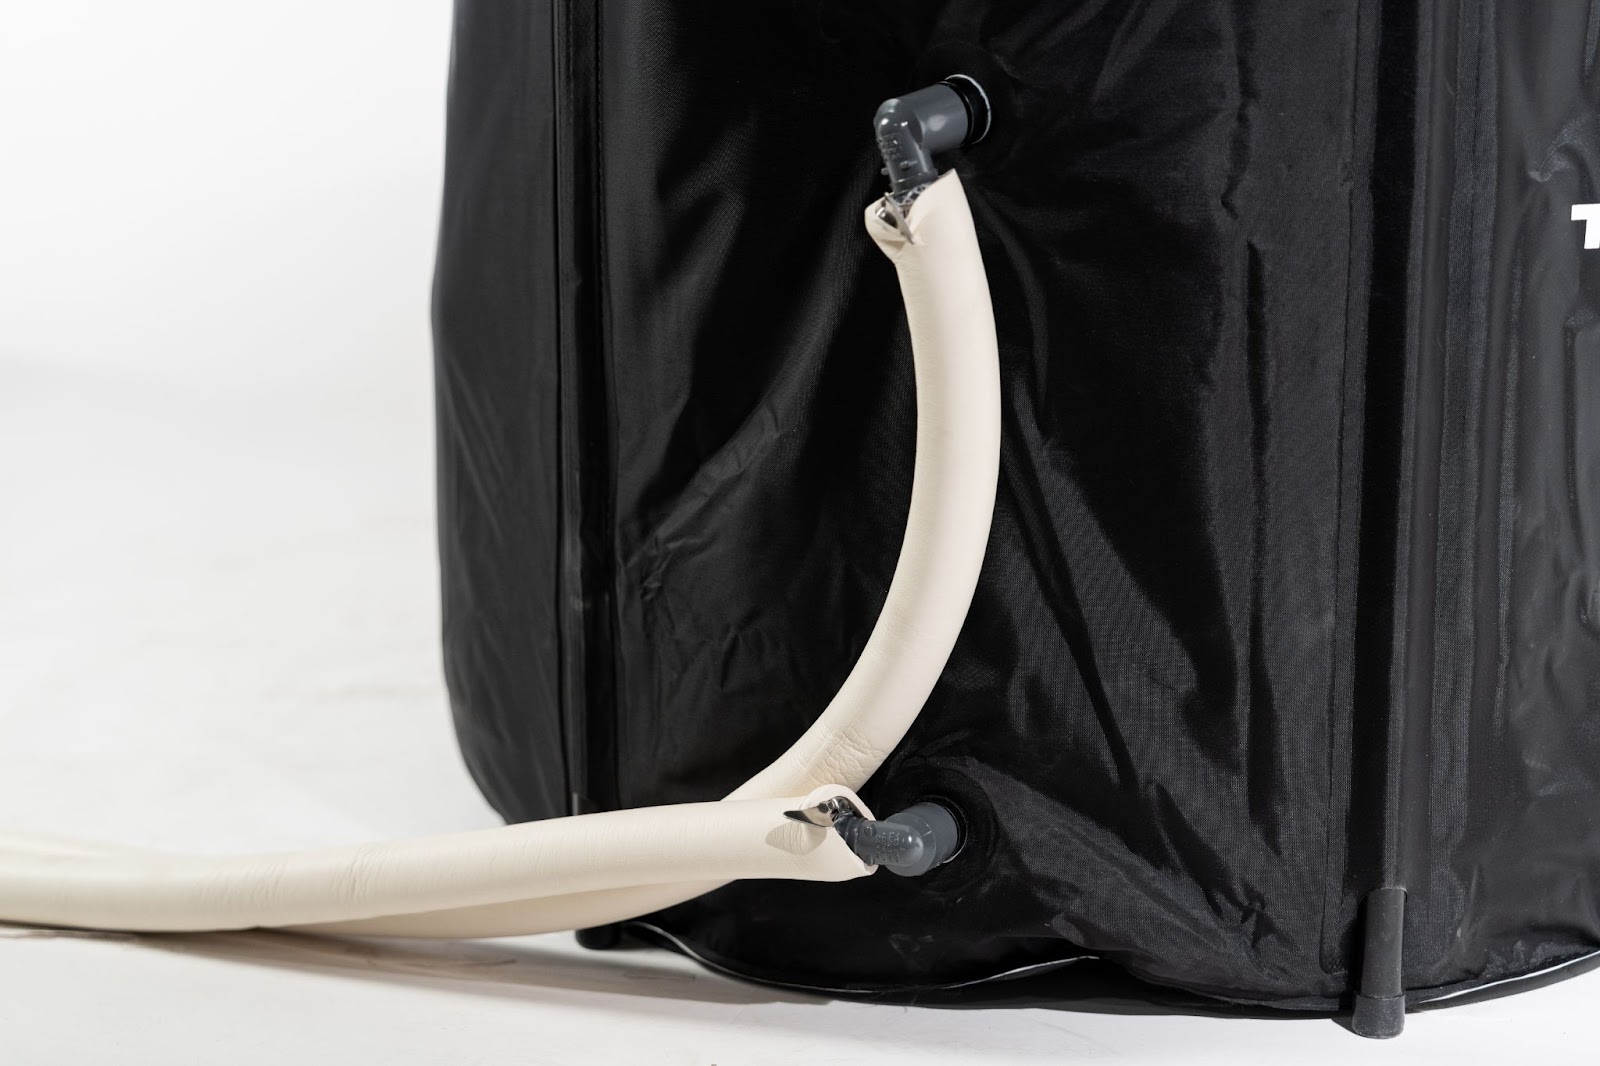
Step 8: Position Connections
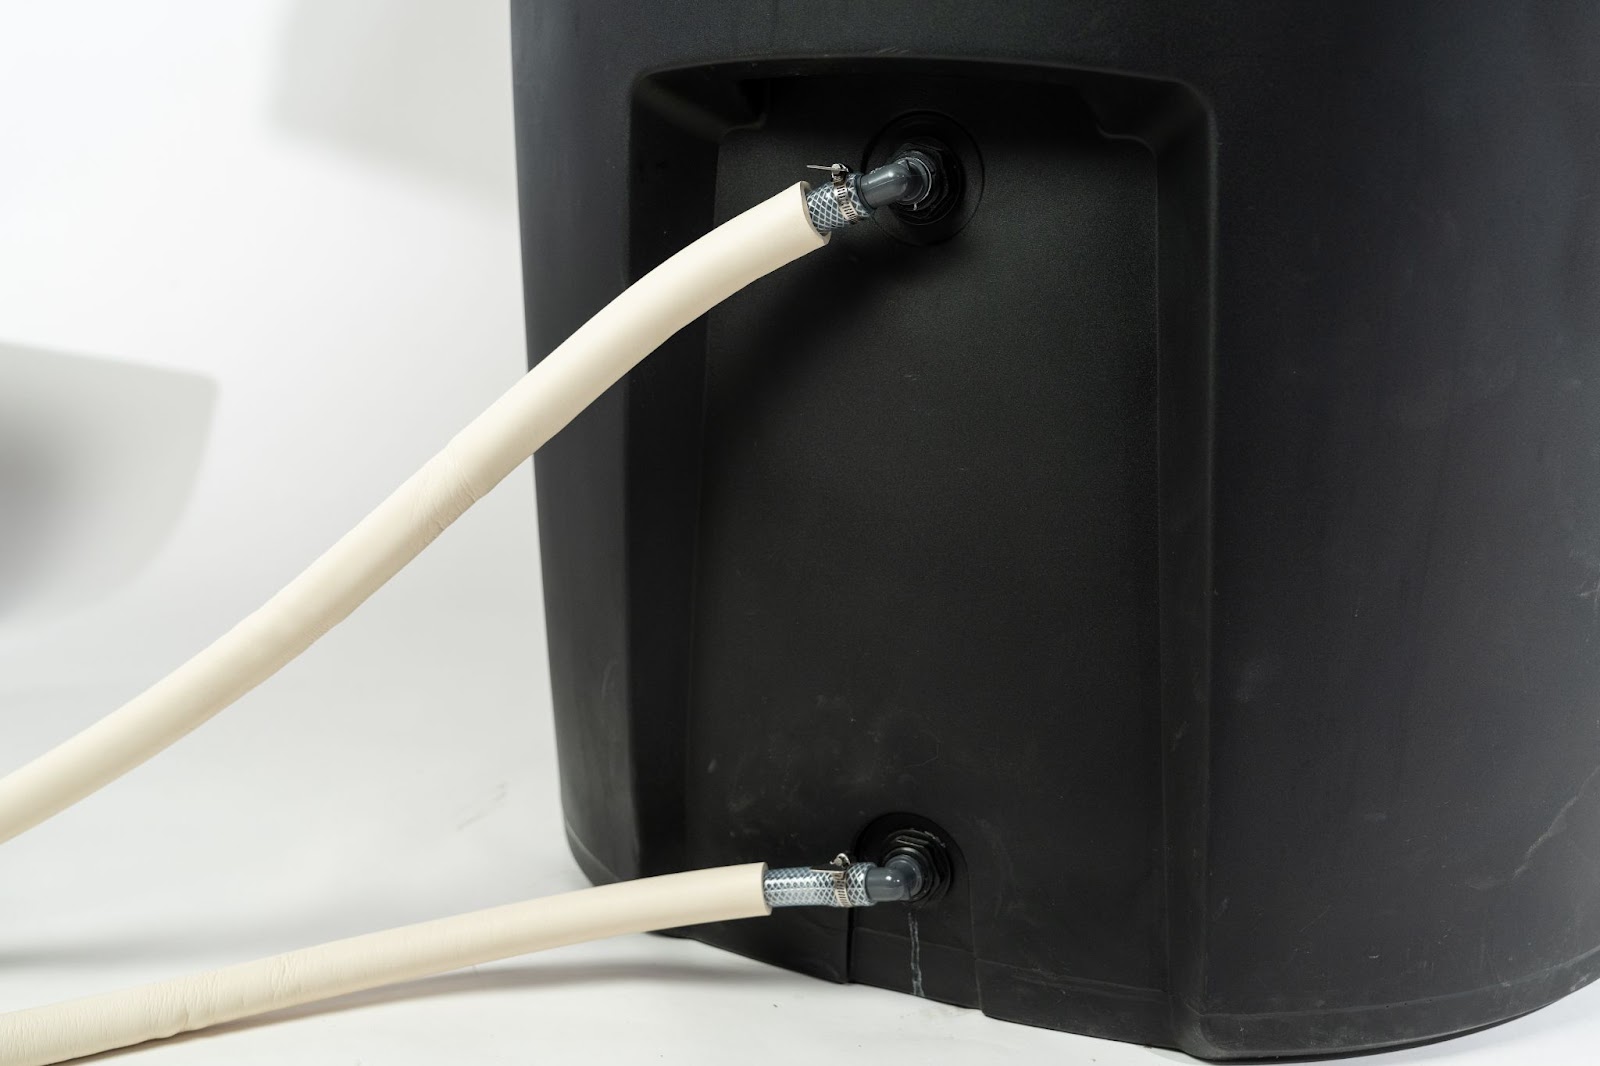
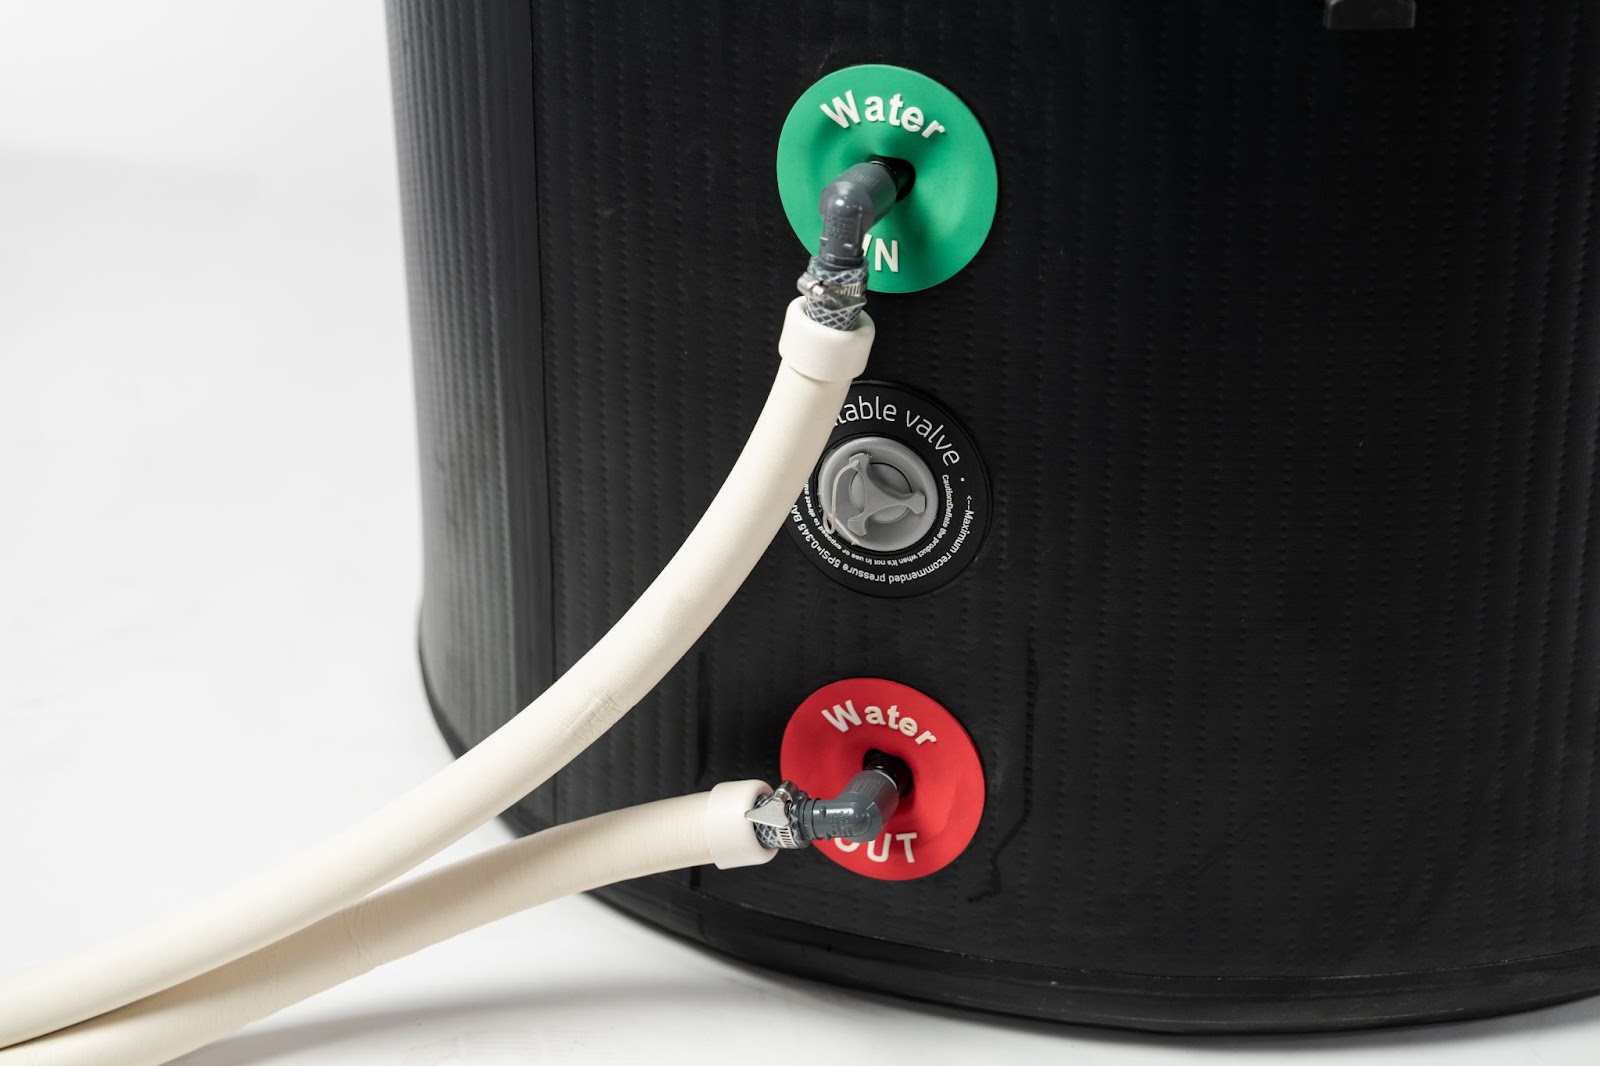
- Shown here are three types of tubs with the end result.
-
Most tubs should end up looking like this, but we cannot account for all variances.
|
|
Step 9: Fill Tub
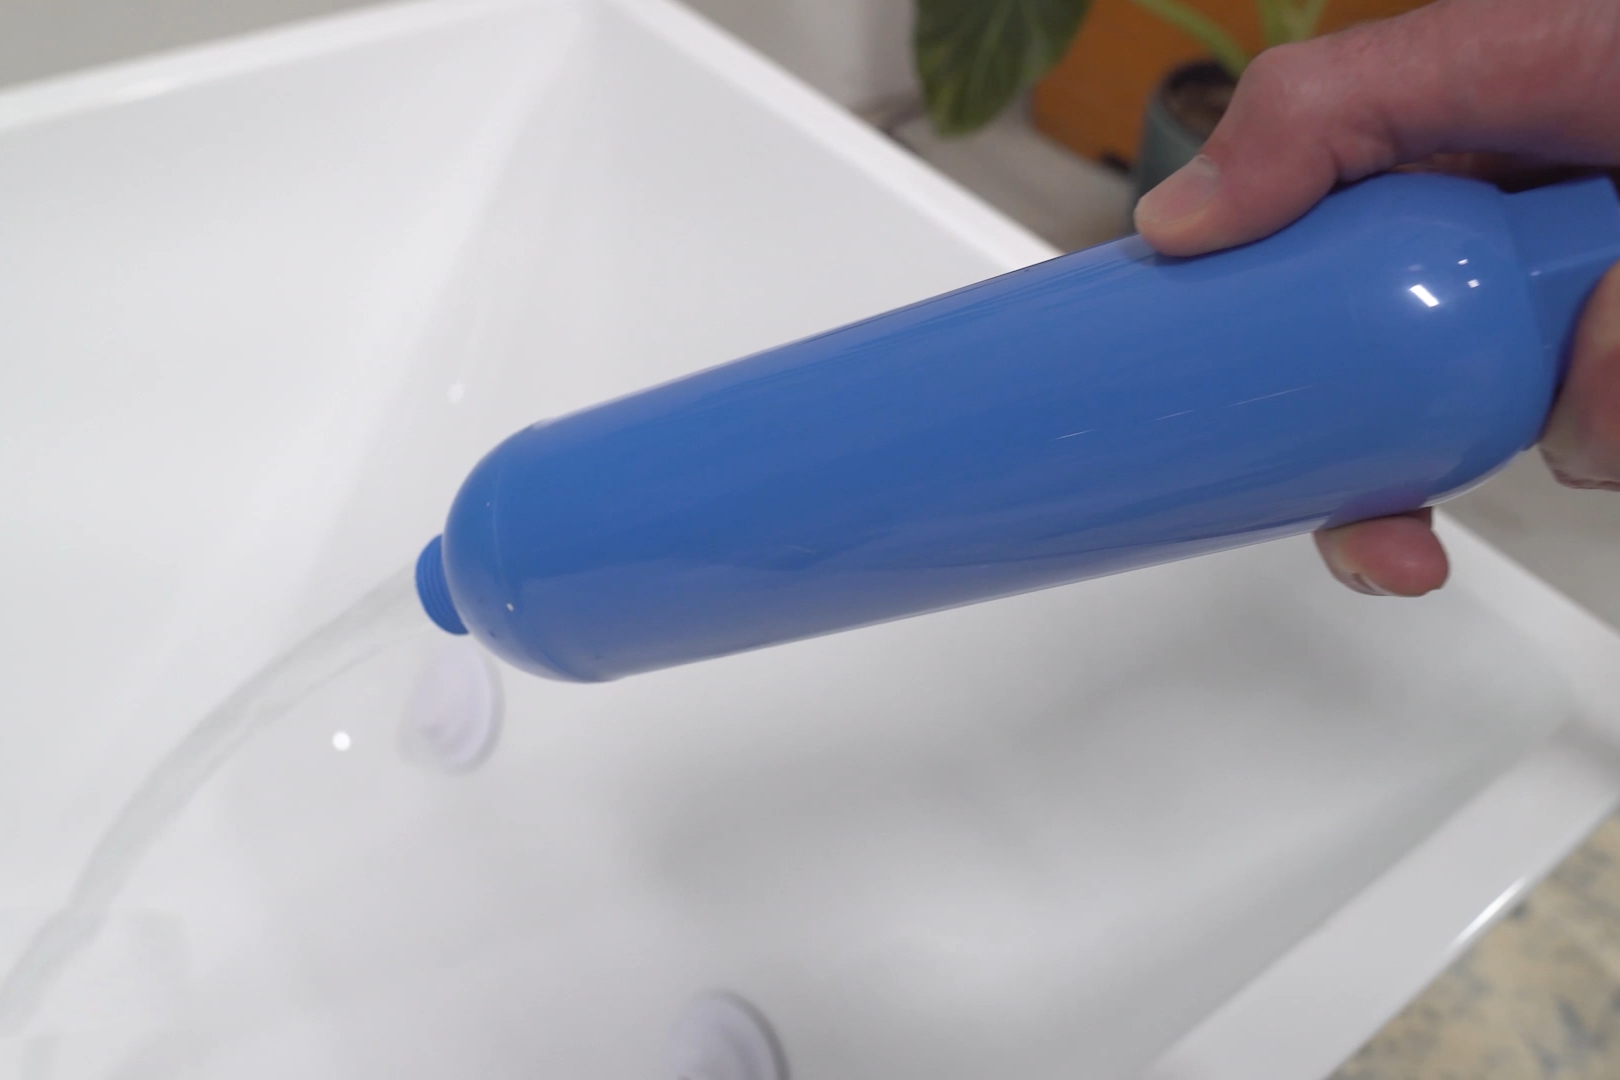
- Fill the tub with clean water.
- Please make sure to never fill the tub with well water without first using an ion exchange filter to remove large amounts of calcium and minerals.
- Calcium build up can result in damage to the chiller pump.
|
 |
Step 10: Open Ball Valves
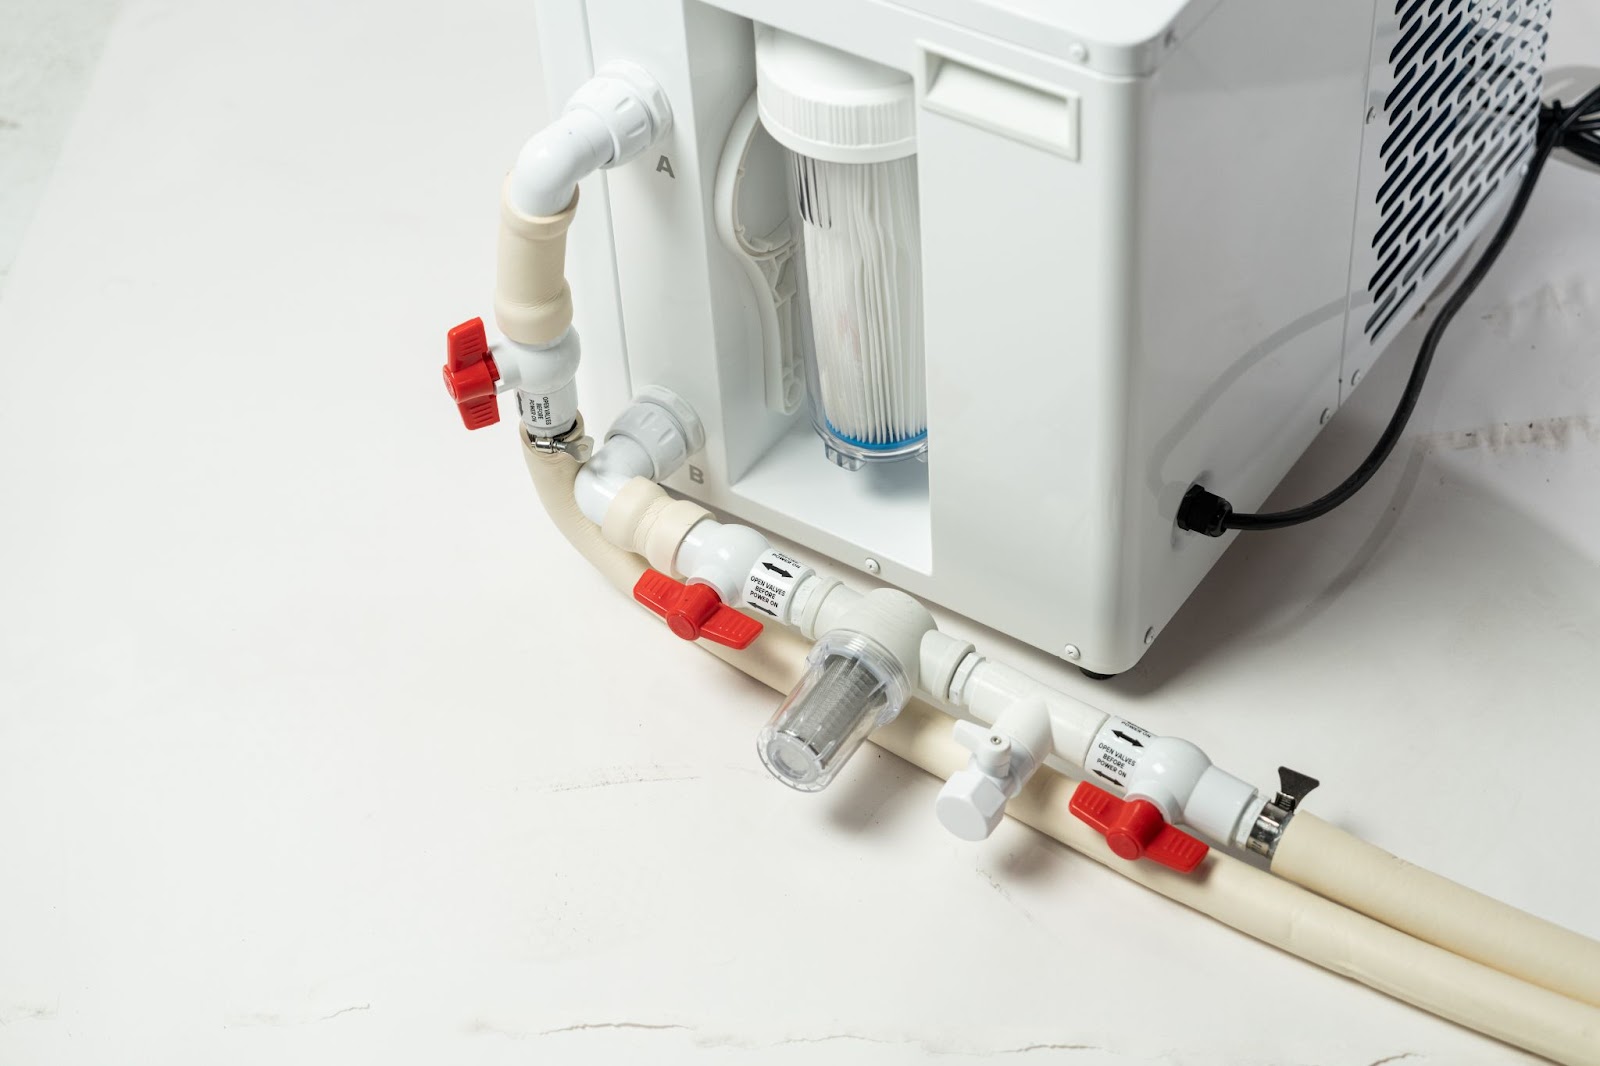
- Please open all 3 colored ball valves by turning them parallel to the connections as shown in the image.
-
NEVER turn your tub on with the colored ball valves closed, this will result in damage to your chiller and void your warranty.
- Note: the white valve is the drain and should remain closed until you need to change out the water.
|
 |
Step 11: Plug in the Standard Chiller
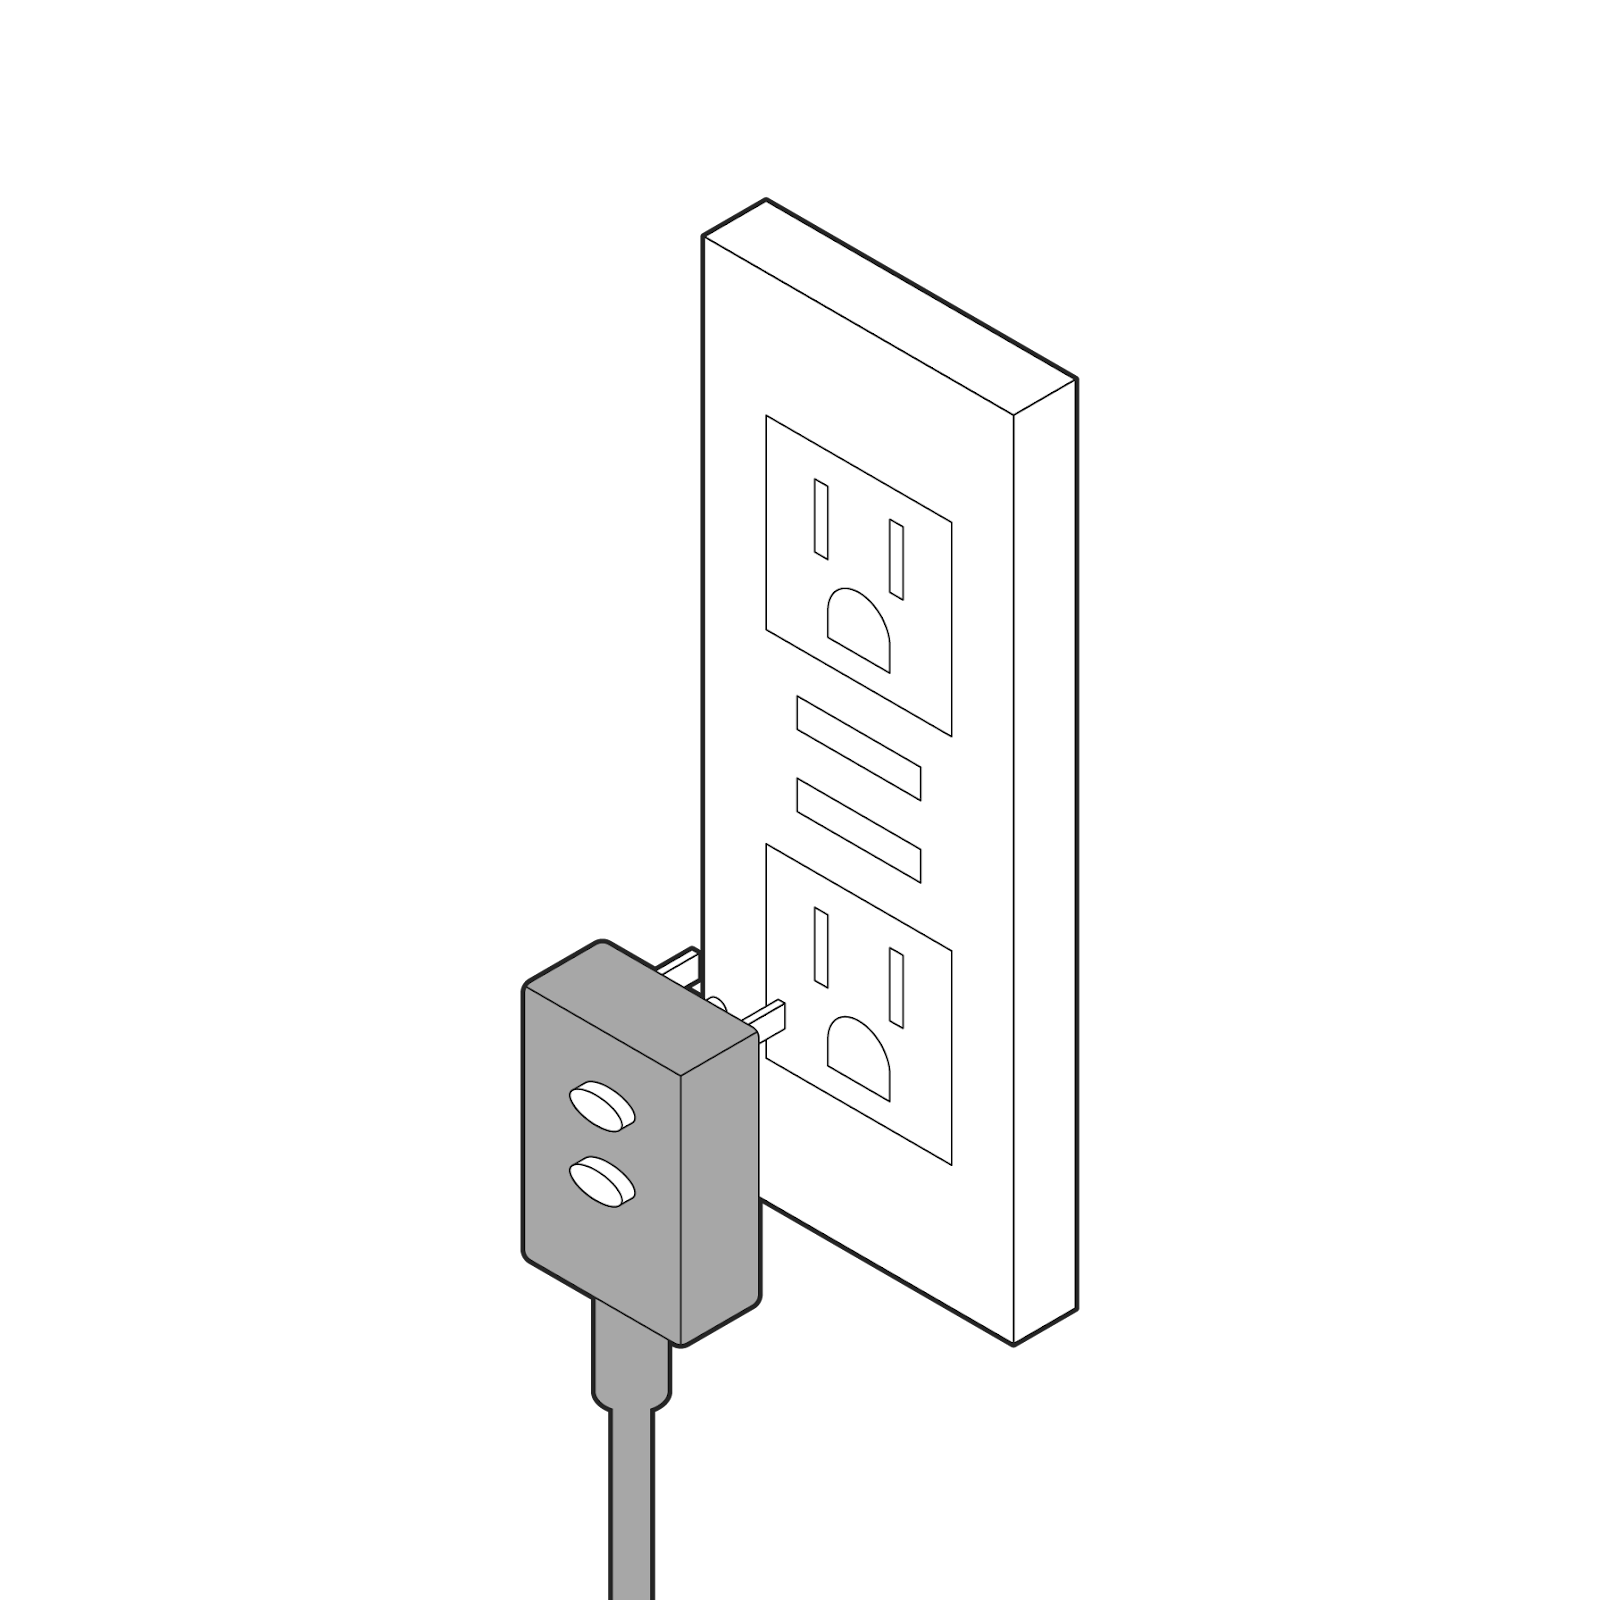
- Once the tub is full you can plug in your Plunge to a dedicated 15 amp Circuit (120V).
- The chiller must be plugged into an outlet 5 feet away for safety and to protect it from water damage.
- Note: If you plan to use an extension cord, it needs to be 12 gauge to give the Plunge sufficient power up to 25ft. Please follow all NEC requirements.
|
 |
Step 12: Turning the Standard Chiller On
- Double check that all the colored ball valves on the chiller connections are open (parallel to the connections).
- Press the reset button on the GFCI plug and you should see the UI turn on.
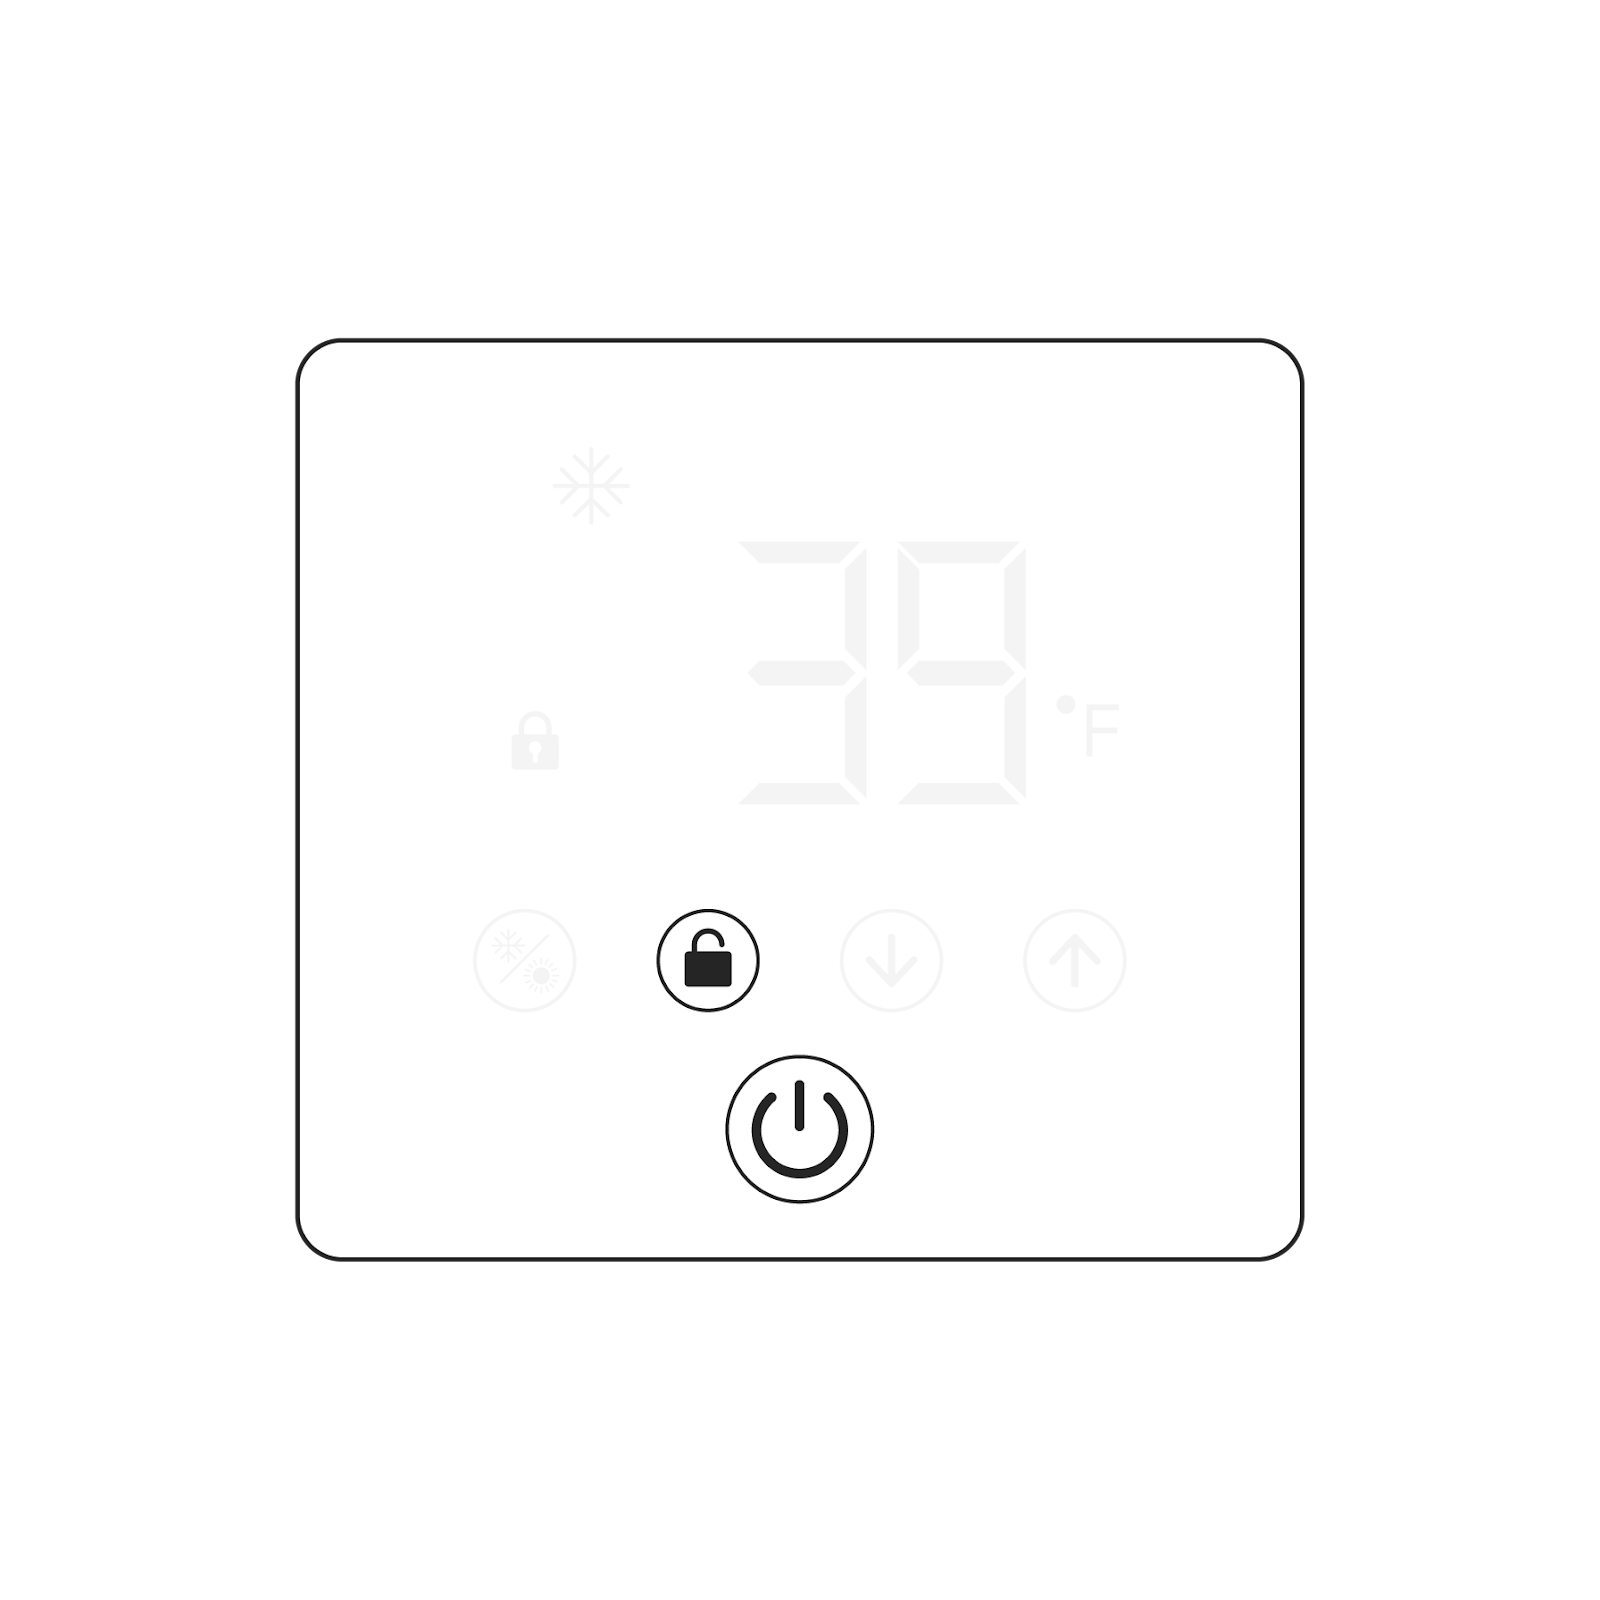
- Hold the lock button on the UI until you hear a beep and the lock symbol disappears.
- Press and hold the power button until the snowflake (cooling mode) appears.
- You should hear the jets and chiller fan turn on and the chiller will begin priming.
- If you do not feel water coming out of the jets, please perform an air purge.
|
 |
Step 13: Set Your Temperature
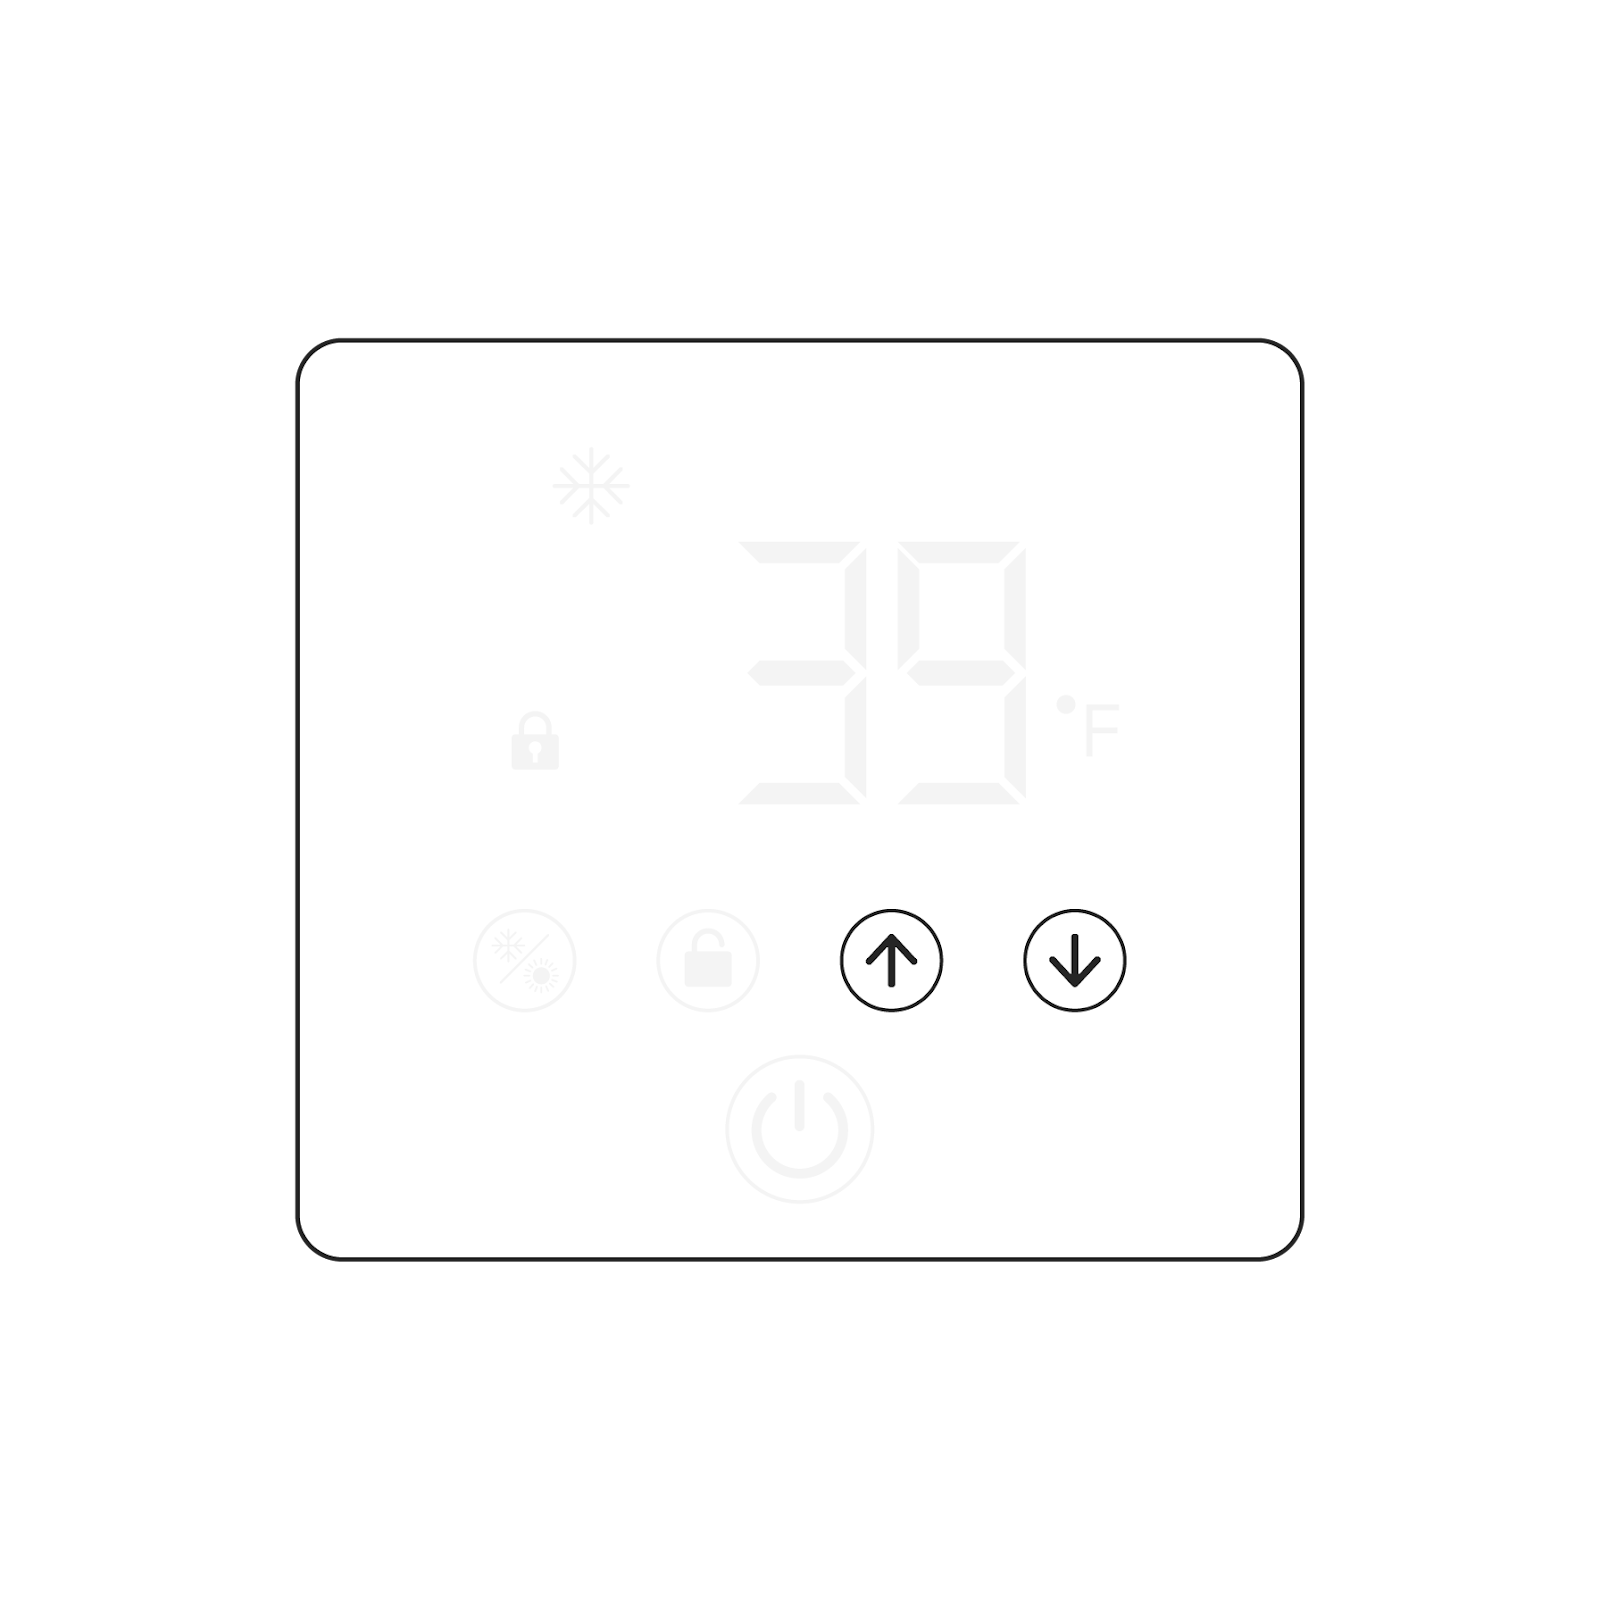
- Unlock your Chiller UI (The UI will lock after 10 seconds)
- Chillers will arrive in cooling mode (snowflake)
- You can change the mode by pressing the mode button if you have a chiller with the added heater. Cold only chillers will only have cooling mode available.
- Use the up and down arrows to set your desired temperature.
- Please note: If you have a chiller with an added heater it cannot be used indoors. This unit is outdoors only. There may be significant condensation.
|
 |
Step 14: Water Maintenance
- Please make sure to get all the products you need to keep your Plunge sparkling clean and running well long term.
-
You can purchase the maintenance kit here.
|
 |
Step 15: Connect to the Plunge App
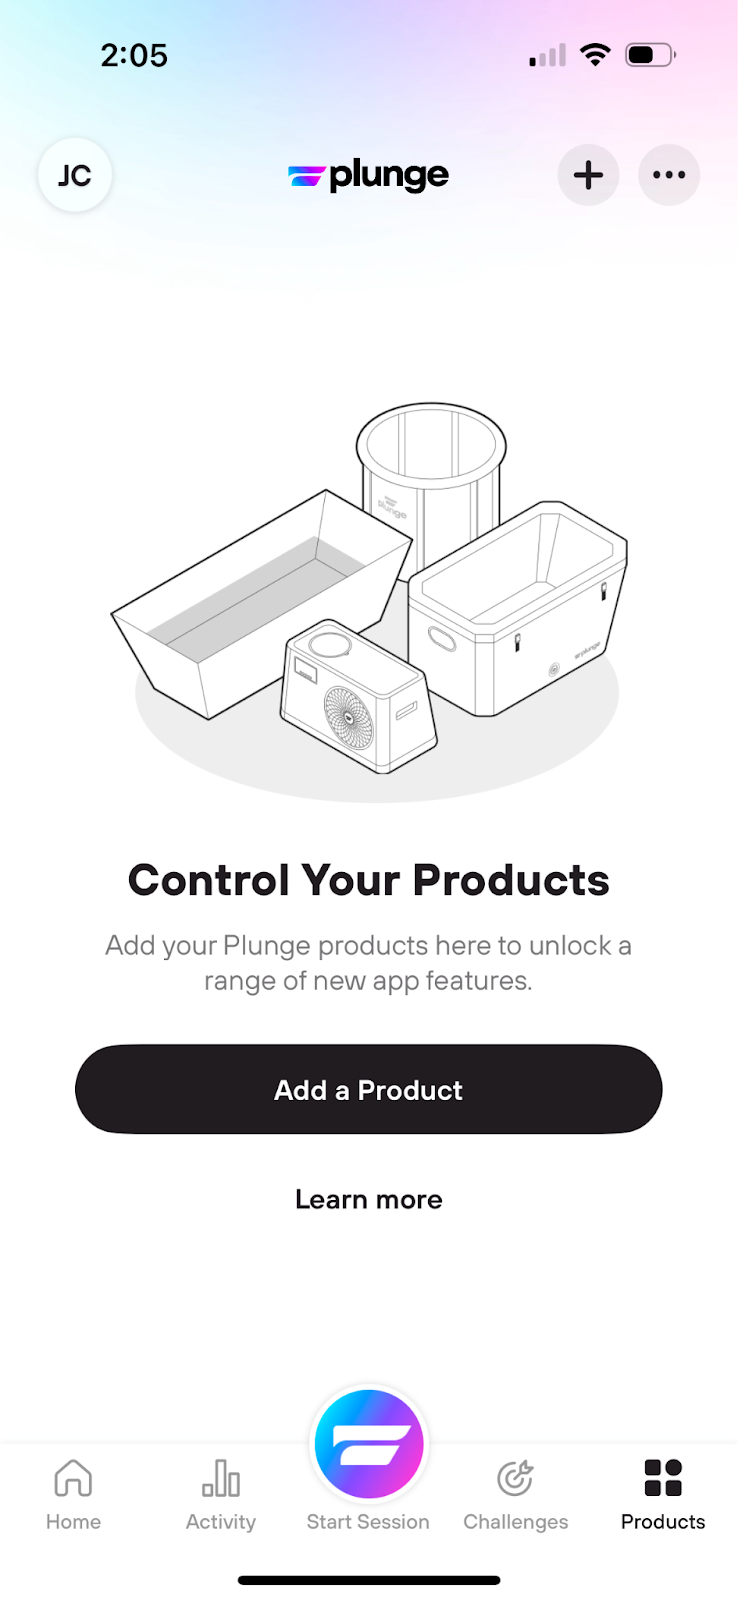
- Please download the Plunge App from the App Store.
- Once you've added your product, follow the directions provided in the app to connect the chiller to WiFi
- Please note: The Standard Chiller only connects to iOS devices. An Android option is coming soon.
|
 |
Comments
0 comments
Please sign in to leave a comment.